How to Know If Your Entire Stucco Exterior Needs Replacement, Not Repair
Most stucco problems in Scottsdale are repair jobs, not replacement jobs, and knowing when to choose stucco replacement vs repair can save thousands. A crack by a window, a hole from a ladder, or a stained patch under a scupper can usually be cut out, patched, and matched. The harder question is how to know if the entire stucco system has failed and needs to come off. This guide walks you through that inspection step by step, the same way a stucco specialist would size up your walls, so you can tell a $900 patch from a full tear-off before anyone quotes you either one.
That distinction matters because the incentives are lopsided. A contractor who mostly sells full replacement will see replacement everywhere. A specialist who does stucco repair, stucco patching, and stucco replacement makes money either way, so the honest answer is the one that holds up. Here is how to get to that answer yourself.
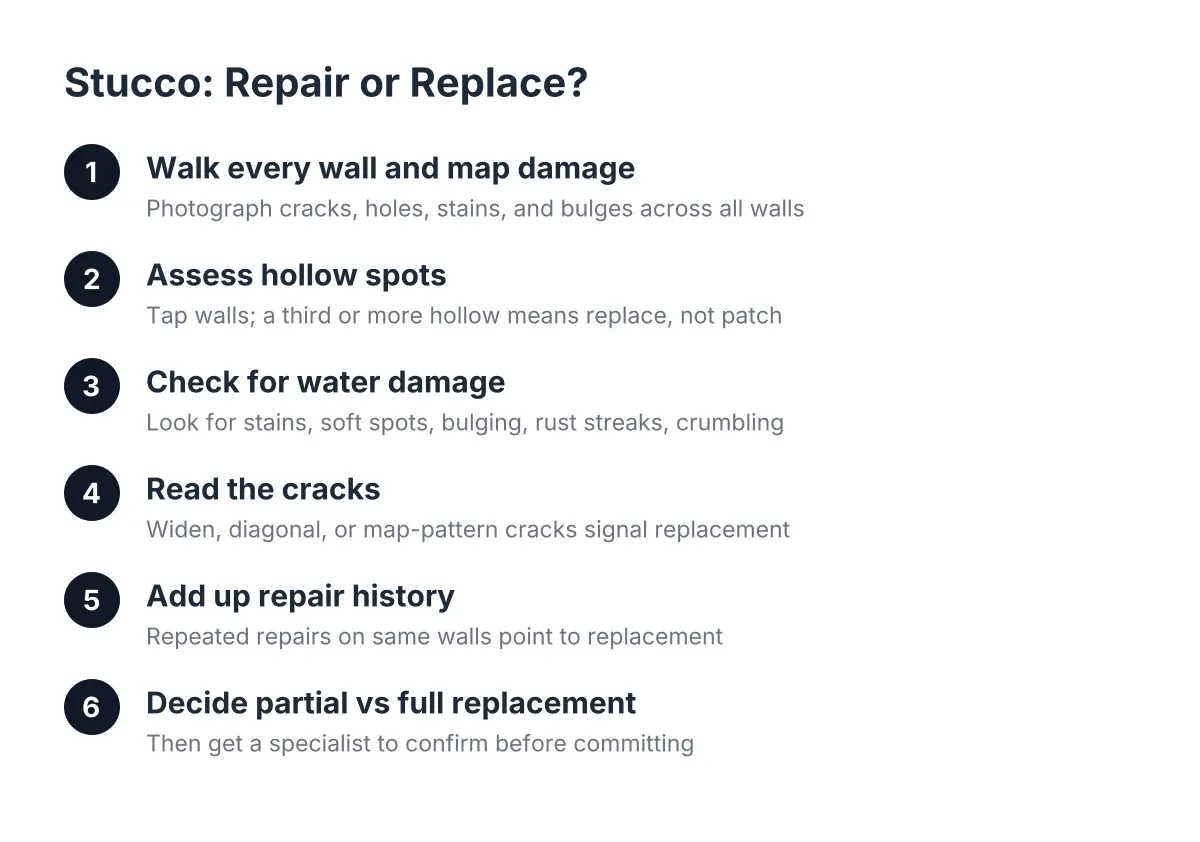
Step 1: Walk Every Wall and Map the Damage
Start with a full lap around the house, not just the wall that caught your eye. Bring your phone and photograph every crack, hole, stain, and bulge you find. Note which walls face the sun hardest and which stay shaded and damp.
The pattern tells you more than any single flaw. One spreading crack near a window corner is a stress point; that is crack repair. Cracks radiating across three or four walls, plus staining and soft spots, point to a system that is failing everywhere at once.
Sort what you find into two buckets:
- Localized damage: an impact hole, a crack that follows one window or door, a stained band below a leaking scupper, or damage where a fixture was removed. These are candidates for stucco patching or crack repair.
- Widespread damage: hairline cracking across most walls, multiple bulging or hollow areas, staining that reappears after every storm, or stucco that crumbles when you press it. These push you toward partial or full replacement.
If everything you photographed fits the first bucket, you can stop worrying about a tear-off. If half your photos land in the second bucket, keep going through the steps below.
Step 2: Assess Hollow Spots and Decide Repair or Replacement
Tapping is the standard field test for stucco that has let go of the wall behind it. Use your knuckles or the handle of a screwdriver. Solid stucco sounds dense and dead. Detached stucco sounds hollow, like knocking on a drum.
Work in a grid across each wall, tapping every couple of feet. Mark hollow areas with painter's tape so you can see the total footprint when you step back. Detachment often happens when the bond between coats failed during the original application, and it spreads over time as water and heat cycle through the wall.
Here is the threshold that matters. A hollow patch the size of a trash can lid is a repair; a crew breaks it out, fixes the cause, and repatches. However, if a third or more of a wall sounds hollow, patching becomes a losing game. You would be chasing detachment across the whole surface, and the honest fix is removing and replacing that wall section corner to corner.
While you are at it, press on any past patches. A patch that flexes or punctures under light finger pressure failed underneath and needs to be broken out and redone, not skimmed over.
Step 3: Check for Water Damage Behind the Surface
Water behind stucco is the single biggest reason a repair turns into a replacement. In Scottsdale, monsoon storms drive rain sideways into cracks, and the damage builds season after season while the wall looks mostly fine.
Look for these signs after the next storm, or hose the wall down and watch it:
- Stains that darken, spread, and take days to dry
- Soft or spongy spots you can dent with your thumb
- Bulging or buckling sections where the stucco has pushed away from the wall
- Rusty streaks bleeding through, which point to corroding lath underneath
- Crumbling near the base of the wall where stucco meets grade
One stained corner under a bad roof drain is water damage stucco repair; you fix the drainage, cut out the soft material, and patch. Loose or buckling stucco should always come off first either way, because leaving it in place lets rain keep swelling the framing behind it and the damage compounds.
The replacement signal is water damage on multiple walls with no single fixable source. That usually means the paper and lath behind the stucco have failed as a moisture barrier. Patching over failed paper just hides the problem until the next monsoon season opens it back up.
Step 4: Read the Cracks Like a Specialist Would
Not all cracks carry the same weight. Hairline cracks under about a sixteenth of an inch are normal in the desert; stucco expands and contracts through 40-degree daily temperature swings, and fine cracking is the material breathing.
Pay attention to these instead:
- Cracks wider than a credit card is thick, especially ones you can slide a fingernail into.
- Diagonal cracks off window and door corners that grow each summer. These follow stress paths and often trace back to settling or vibration; patching without addressing the cause means the crack returns.
- Stair-step or map-pattern cracking spreading across a whole wall, which suggests the base coat itself is failing.
- Cracks paired with hollow sounds or bulging, which means the crack is a symptom of detachment, not the problem itself.
One or two cracks from the first two categories are repairable. Widespread map cracking across most of the house, especially combined with hollow spots from Step 2, is one of the clearest signs stucco needs replacing rather than another round of patches.
Step 5: Add Up the Repair History
Pull up what you have spent on stucco repair over the past five or so years. If the same walls keep needing crack repair, if patches keep showing through or popping out, or if a fresh coat of stucco paint hides the cracks for one season and they telegraph back through, you are paying repeatedly for a wall that has reached the end of its life.
A note on painting stucco, since it comes up constantly at this stage. Can you paint stucco? Yes, and paint is a legitimate finish and a mild moisture shield on sound walls. But paint on failing stucco is a cosmetic delay, not a fix. Elastomeric coatings can bridge hairline cracks; they cannot reattach hollow stucco or dry out wet lath. If you are painting to hide damage before a listing, an inspector will still find the soft spots.
For scale, the national average cost to repair stucco runs $900 to $3,000, averaging about $1,700 for a buckled 10×10-foot section of three-coat stucco, according to Fixr.com. When your repair invoices start stacking up toward what a wall replacement would cost, the math has already made the decision for you.
Step 6: Decide Between Partial and Full Stucco Replacement
Full tear-offs are the exception, not the rule. Even when a wall is beyond patching, the right move is often replacing that wall from corner to corner while leaving sound walls alone. Corners are the natural break lines; a corner-to-corner replacement hides the transition, while a mid-wall patch on a failing surface tends to show.
Suppose a Scottsdale homeowner is prepping a house to list in six weeks, and the inspection flags stucco damage. Say the tap test finds one hollow, water-stained west wall, while the other three walls show only hairline cracking. In that scenario, the answer is a single-wall replacement plus crack repair and color matching elsewhere, likely a few thousand dollars, not a full-house tear-off that would blow the closing date. Full replacement only enters the conversation when Steps 2 through 5 fail on most of the house at once.
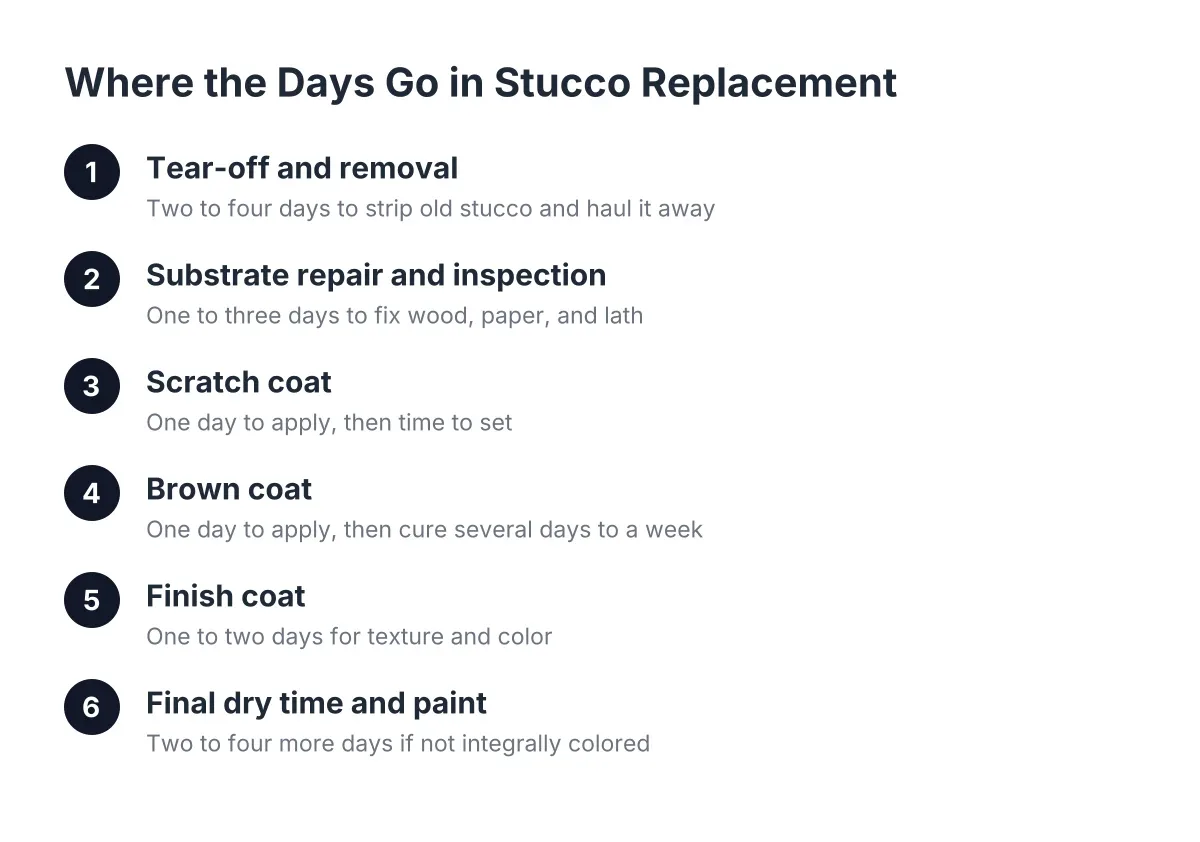
Timeline matters for that decision too. A patch or single-wall job typically wraps in days. A whole-house removal and replacement involves stripping to the lath or sheathing, new paper and wire, three new coats with cure time between them, and finish texture; plan on a few weeks, weather permitting. Stucco remains the dominant exterior here for a reason, covering 48% of new single-family homes started in the Mountain division in 2024, according to the National Association of Home Builders, so crews that do this work full time are not hard to find in the Valley.
Step 7: Get a Specialist to Confirm Before You Commit
A tap test and a walk-around tell you a lot, but they cannot tell you the condition of the paper, lath, or framing behind the wall. Only opening a section confirms that. Before you accept a full-replacement quote, get an on-site inspection from someone who actually puts hands on the wall; be wary of anyone who quotes a tear-off from the driveway or over the phone.
Ask these questions and listen for straight answers:
- Which specific walls need replacement, and why can the others be repaired?
- What caused the failure, and does the fix address the cause or just the surface?
- Will you remove all loose material before patching, and how will you match the existing texture and color?
- If we replace one wall, where will the transition line fall?
To know if your entire stucco exterior is truly done, you need widespread failure confirmed on multiple tests: hollow spots across several walls, water damage with no single source, map cracking, and a repair history that keeps repeating. Anything short of that, and repair or partial replacement is the answer a specialist without a replacement quota will give you. When the evidence genuinely points to a full tear-off, doing it once, correctly, costs less than another decade of patches on a wall that has already quit.
If you need stucco repair, Scottsdale Stucco Repair can help.
Prefer to talk it through? Call (480) 637-3464 — a quick call is usually the fastest way to get a straight answer for your situation.