How Stucco Cracks Turn Into Ceiling Water Damage in Scottsdale Homes
A hairline crack in your stucco looks harmless in April. Then a monsoon storm drives rain sideways into that crack in July, and by September you notice a brown ring spreading across the drywall inside. That is how most ceiling water damage in Scottsdale starts: not with a roof leak, but with water working through exterior wall damage over months. This guide walks through how water gets into stucco, how it travels to your interior walls and ceilings, and the steps to stop it before a small crack repair becomes a full replacement conversation.
Stucco is still the dominant wall material in this region. According to the National Association of Home Builders, stucco covered 48% of new single-family homes started in the Mountain division in 2024, which includes Arizona. That means the failure pattern described here applies to roughly half the homes in your neighborhood, especially ones built before 2010 where the original coat has had decades of sun and storm cycles.
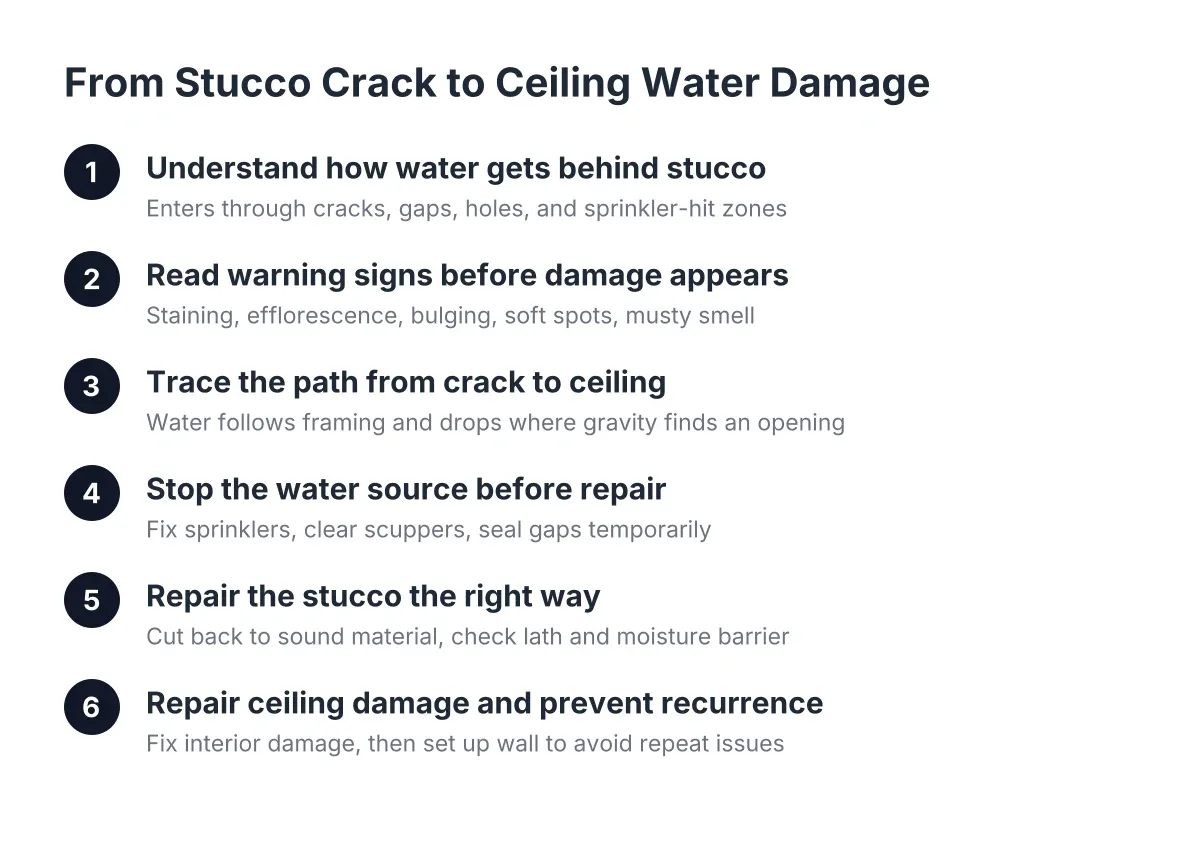
Here is the step-by-step process for tracing the problem and fixing it in the right order.
Step 1: Understand How Water Actually Gets Behind Stucco
Water does not soak through the face of healthy stucco. It enters through specific openings: cracks wider than a credit card edge, gaps where stucco meets windows and parapets, holes in a wall from impact, and the ground-level band where sprinklers hit the same spot every morning.
Scottsdale adds two pressures that generic national advice ignores. First, monsoon rain arrives horizontally, driven by 40 to 60 mph outflow winds. A crack that never sees water in a gentle vertical rain takes a direct hit during a July storm. Second, drip lines and pop-up sprinklers spray the base of walls daily, twelve months a year. Sprinkler damage to stucco is slow and constant, while monsoon stucco damage is fast and violent. Most water intrusion cases here involve one or both.
Once water is behind the stucco, the desert works against you. The exterior surface dries fast in the sun, which hides the problem, while moisture trapped against the wood framing or sheathing has nowhere to go. It wicks upward and inward. That is the path from a wall crack to water damage on a ceiling two rooms away.
Step 2: Read the Warning Signs Before Ceiling Water Damage Appears
The wall tells you months before the ceiling does. Walk your exterior after the next storm and look for these stucco water intrusion signs:
- Dark or rust-colored staining that lingers more than a day after rain, especially below windows and at parapet lines
- A white, chalky crust called efflorescence, which is minerals left behind by evaporating water
- Bubbling or bulging patches where the stucco has separated from the lath behind it
- Soft spots that give slightly when you press with a thumb; sound stucco feels like concrete
- Cracks at the base of the wall in the spray pattern of your irrigation heads
- A musty smell near an interior wall, which can point to mold growing behind the stucco
Any one of these signals moisture behind the surface. Two or more in the same area means the water has been there a while.
Step 3: Trace the Path From Wall Crack to Water Damage Inside
Interior stains rarely sit directly behind the exterior entry point, which is why homeowners often blame the roof first. Water follows framing members, runs along the top plate of a wall, and drops where gravity finds an opening. A crack near a second-story parapet can produce a stain on the ceiling of a first-floor room eight feet away.
To trace it, work backward. Note where the interior stain is, then inspect the exterior wall above and to both sides of that spot. Check window heads, the roofline where stucco meets flashing, and any penetration such as a hose bib, light fixture, or scupper. Ceiling water damage after rain that appears within a day of a storm usually points to a roof or parapet issue; a stain that grows slowly over weeks points to a wall crack or irrigation exposure feeding it steadily.
For example, suppose a homeowner in McCormick Ranch notices a soft brown patch on the ceiling near an exterior wall in late August. The roof checks out fine. The actual source turns out to be a quarter-inch stucco crack under a second-floor window that took direct monsoon spray for two seasons. That is a common pattern here, and it is why a stucco inspection belongs in any ceiling water damage investigation.
Step 4: Stop the Water Source Before Any Repair
Fixing the stucco or the ceiling before cutting off the water wastes the repair. Address the source first:
- Adjust or cap any sprinkler head that sprays the wall. Drip emitters should sit at least a foot away from the stucco base.
- Clear scuppers, canales, and gutters so parapet walls shed water instead of holding it.
- Seal gaps at window and door perimeters with a quality exterior sealant as a temporary measure.
- If a storm is coming and you have an open crack or hole, a temporary patch beats nothing; it buys time until a proper repair.
However, sealant and quick patches are stopgaps, not repairs. Caulk smeared over a structural crack traps moisture inside the wall, which makes the eventual repair larger.
Step 5: Repair the Stucco the Right Way
A proper Water Damage Stucco Repair goes deeper than the surface. The damaged stucco gets cut back to sound material, and the paper and lath behind it get inspected. If the moisture barrier is torn or the lath is rusted, those get replaced before new base and finish coats go on. Skipping that step is how the same stain comes back a year later.
Stucco crack repair for hairline cracks is simpler: the crack gets opened slightly, filled with a compatible material, and finished to match the surrounding texture. Wider cracks and soft areas need patching down to the lath. Color matching and texture matching matter here; a patch that flashes a different shade under the Arizona sun draws the eye from the street and hurts resale value, which is exactly what an established owner planning to sell wants to avoid.
For budget context, Fixr.com puts the national average cost to repair stucco between $900 and $3,000, averaging around $1,700 for buckled three-coat stucco in a 10×10-foot area. Water-damaged sections trend toward the higher end because of the layers involved. If soft spots and staining appear across multiple walls rather than one isolated area, the conversation shifts from patching to resurfacing or replacement, and it is worth getting that assessment before pricing anything.
Step 6: Repair the Ceiling Water Damage Inside
Only after the wall is watertight should the interior work start. Confirm the cavity is dry first; a moisture meter reading, or at minimum two to three weeks of dry weather with no new staining, is the checkpoint. Then cut out stained or sagging drywall rather than painting over it. Paint hides the ring but seals in whatever moisture and mold spores remain.
Ceiling water damage repair on a small stained section is a manageable drywall patch, tape, texture, and paint job. However, if the drywall crumbles, if insulation above it is wet, or if you see black or green growth, stop. Mold remediation behind a wall or above a ceiling is a job for a professional, and disturbing it without containment spreads spores through the house. That is one place where DIY savings can turn into a larger bill.
Step 7: Set Up the Wall So It Does Not Happen Again
Prevention in Scottsdale comes down to a short seasonal routine:
- Each May, before monsoon season, walk the exterior and mark any new cracks for repair while the weather is dry
- Keep irrigation spray off the walls year-round and check emitter placement after any landscaping change
- After major storms, check parapets, window heads, and the base of walls for fresh staining
- Repaint or reseal the stucco on schedule; a sound elastomeric or masonry coating sheds the rain that cracks would otherwise drink
Small crack repairs handled in spring cost a fraction of the wall-plus-ceiling repair chain described above. As of 2026, that math has not changed: the cheapest water damage repair is the crack you fixed before the storm hit it.
When to Bring in a Stucco Professional
Handle it yourself if you have a single hairline crack, dry interior walls, and no soft spots. Call a stucco repair professional if you find bulging or soft stucco, staining across multiple walls, any interior ceiling stain paired with exterior wall symptoms, or a musty smell you cannot source. Those signs mean the water has been inside the wall long enough to do hidden damage, and an on-site assessment will tell you whether you are looking at a patch, a resurface, or something bigger. Getting that answer early is what keeps a $1,000 repair from becoming an $8,000 one.
If you need stucco repair, Scottsdale Stucco Repair can help.
Prefer to talk it through? Call (480) 637-3464 — a quick call is usually the fastest way to get a straight answer for your situation.