Why a Colored Stucco Patch Shows After Crack Repair: Mismatches Explained
You fixed the crack, but now there is a gray or off-tone rectangle on your wall that catches your eye every time you pull into the driveway. That is the most common complaint after stucco crack repair, and it usually comes down to how the colored stucco patch was mixed, applied, and finished. This guide walks through the repair step by step, explains exactly where color mismatches come from, and shows you what a good contractor does differently so the patch disappears instead of announcing itself.
This matters in Scottsdale more than most places. Stucco remained the most-used exterior wall material in the Mountain division, which includes Arizona, at 48% of new single-family homes started in 2024, according to the National Association of Home Builders. On a stucco house exterior that has baked in desert sun for 15 or 20 years, the original color is no longer the color on the wall. That gap between the factory color and the faded wall is where most visible patches are born.
Step 1: Figure Out Whether Your Wall Is Painted or Integrally Colored
Before anyone mixes a patch, identify what kind of color you are matching. Painted stucco has a film of paint sitting on top of a gray or tan base. Integrally colored stucco has pigment mixed into the finish coat itself, so the color goes all the way through.
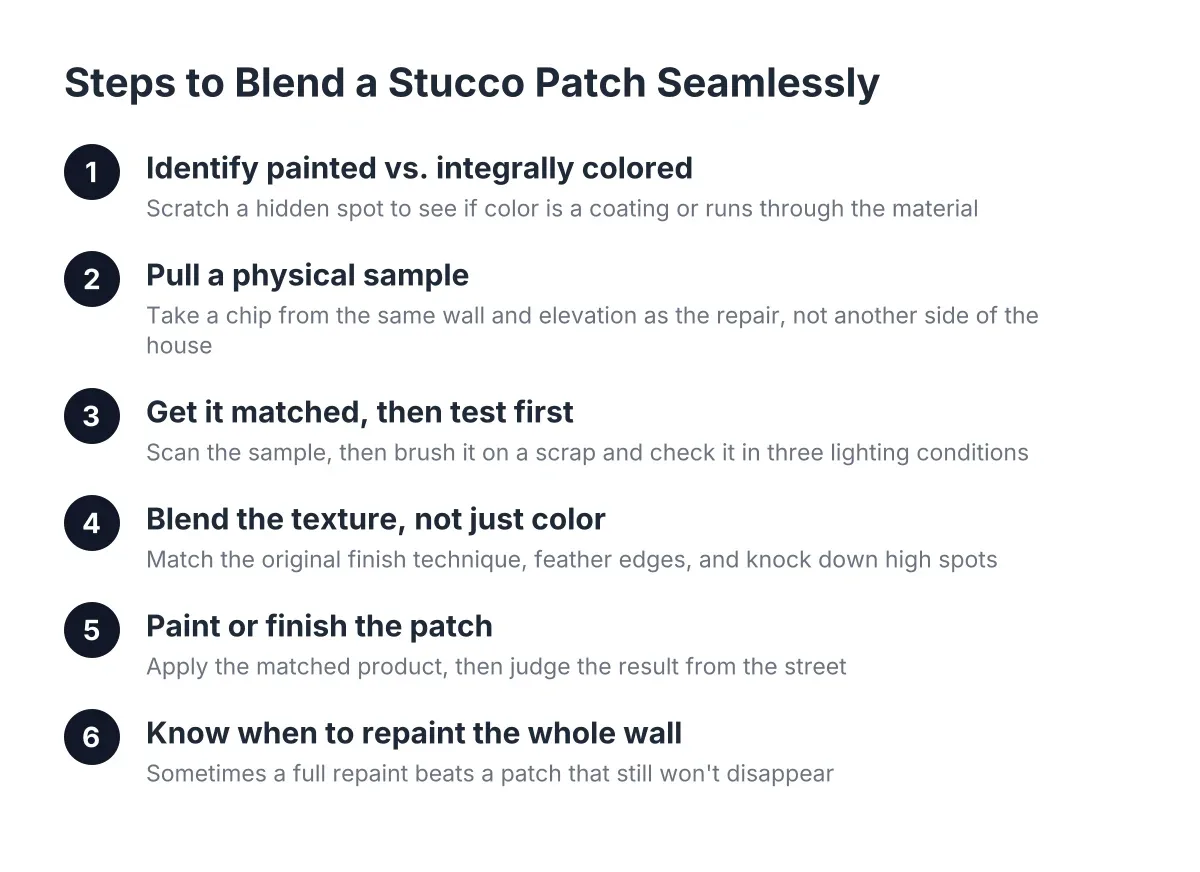
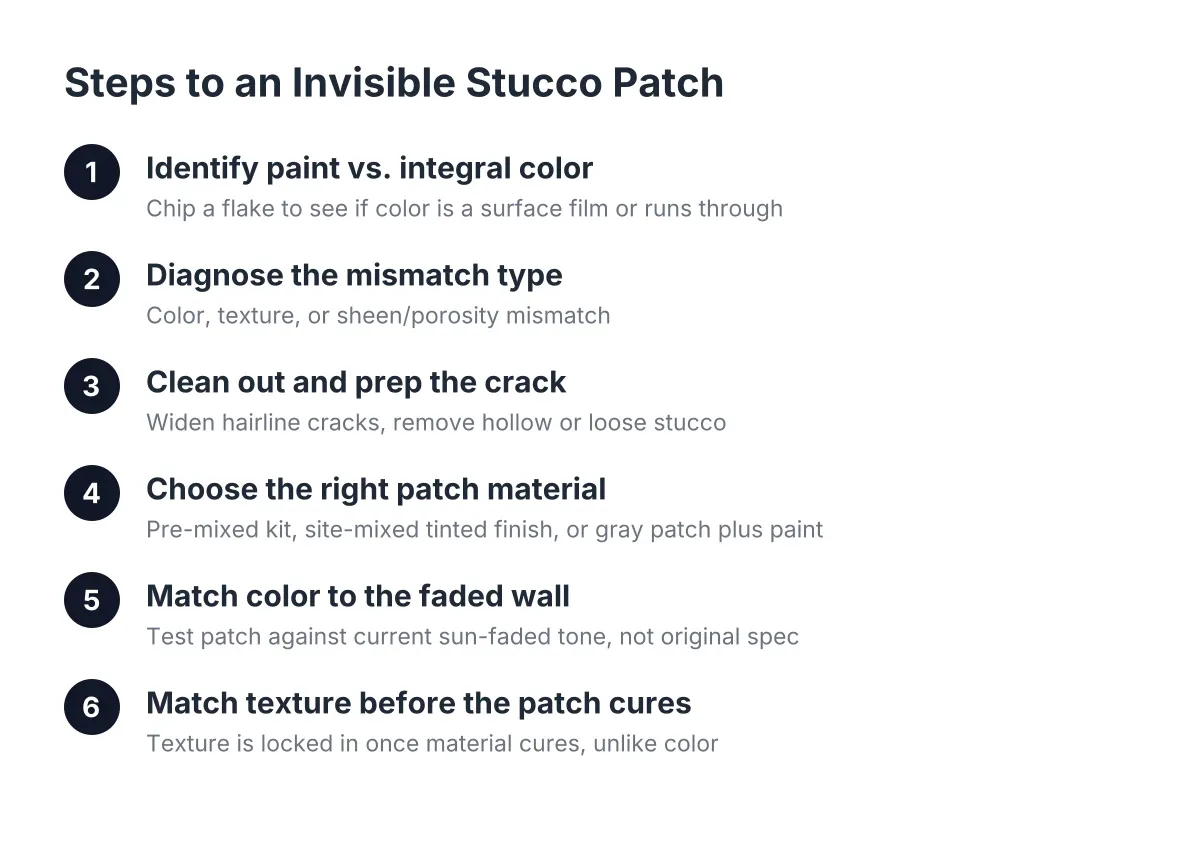
Here is a quick field test. Chip a small flake from an inconspicuous spot, like behind a shrub or near a hose bib. If the flake shows a thin colored skin over gray material, your wall is painted. If the color runs through the full thickness of the flake, you have an integral color coat.
This distinction drives everything that follows. A painted wall can be patched with standard material and repainted, which is forgiving. An integrally colored wall needs the patch material itself tinted to match, which is where most DIY jobs and rushed contractor jobs go wrong.
Step 2: Understand the Three Mismatches That Make a Patch Visible
A patch shows for one of three reasons, and often more than one at once. Knowing which one you are fighting tells you how to fix it.
- Color mismatch. The patch was mixed to the original factory color, but your wall has faded under Arizona sun. The patch reads darker or more saturated than everything around it.
- Texture mismatch. The patch is smoother, rougher, or flatter than the surrounding finish. Texture differences cast different shadows, so the patch shows even when the color is close. A texture mismatch usually means the repair was done by someone who did not match the original finish technique.
- Sheen and porosity mismatch. Fresh material absorbs light and moisture differently than cured, weathered stucco. A new patch can look blotchy for weeks, then settle, or it can stay shiny or chalky next to the old wall permanently.
Texture is the one homeowners underestimate. Even if you repaint the whole wall afterward, a bad texture match telegraphs through the paint. Color can be corrected later; texture is locked in once the material cures.
Step 3: Clean Out and Prep the Crack Correctly
Mismatches start before any color touches the wall. A crack that is patched over without proper prep will reopen, and the second repair on top of the first is twice as hard to blend.
First, widen hairline cracks slightly with a scraper or grinder so the repair material has something to grip. Brush out dust and loose material. For wider cracks, a closed-cell foam backer rod gives the sealant a proper foundation inside the gap before you fill it, a standard practice noted by Sika.
Next, check the area around the crack. Tap it with a knuckle. A hollow sound, or material that gives under light finger pressure, means the stucco has separated from the wall or an earlier patch failed. That section needs to be broken out and redone, not skimmed over. Patching over hollow stucco guarantees a repeat repair, and likely a bigger one.
One more note on expectations: small cracks that appear in a fresh base coat during curing are normal, not a defect. A good installer plans for them before the finish coat goes on.
Step 4: Choose the Right Material for a Colored Stucco Patch
Not all patch products behave the same, and the wrong one makes blending impossible. There are three broad categories.
- Pre-mixed colored stucco patch kits. These come in a limited range of stock colors. They work when your wall happens to be close to a stock color and has not faded far from it. On a sun-faded Scottsdale wall, a stock-color kit almost always lands darker than the wall.
- Site-mixed stucco with tinted finish coat. A contractor mixes base material, then tints the finish coat with pigment to match the wall as it is today, faded tone included. This is the right approach for integrally colored walls and the standard for invisible repairs.
- Standard gray patch plus paint. Fill the crack with untinted material, then paint. This only works if you repaint at least the full wall section, because touch-up paint over a patch creates its own blotch.
Be aware that some fiber-reinforced crack coatings sit thick on the surface and resist taking on the surrounding texture. On a low-visibility spot like a parapet wall, that trade-off may be acceptable. On the front elevation facing the street, it is not.
If you are getting quotes, ask each contractor which of these three approaches they plan to use and why. That one question explains a lot of the price spread between bids.
Step 5: Match the Color to the Faded Wall, Not the Original Spec
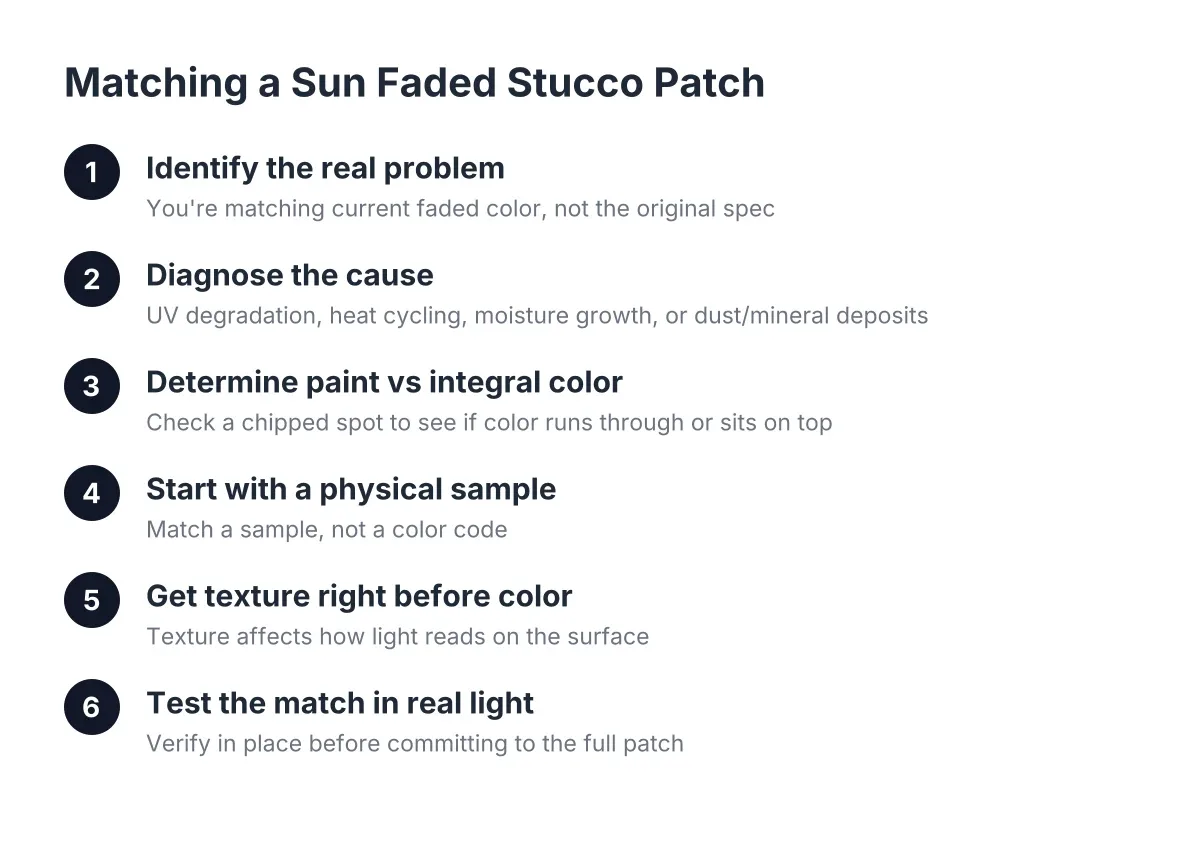
This is the step that separates an invisible repair from a blotch. The target is never the color code on an old paint can or the builder's spec sheet. The target is the wall as it exists in 2026, after years of UV exposure.
A careful contractor does a test patch. They mix a small batch, apply it to a sample board or a hidden section, and let it dry fully. Wet stucco reads several shades darker than cured stucco, so judging a match while the material is damp is the single most common color error. The sample gets compared against the wall in full sun and in shade, because desert light shifts how pigment reads through the day.
In addition, expect the match to be iterative. Two or three test mixes before the real application is normal on a faded wall. A contractor who mixes once and starts troweling is guessing.
Step 6: Match the Texture Before the Color Cures
Apply the patch material, then replicate the surrounding finish while it is still workable. Sand finish, lace, skip trowel, and dash each require a different tool and motion. The person doing the repair should identify your finish by name before starting; if they cannot, that is a warning sign.
A useful rule: textured, knocked-down finishes hide repairs well because small imperfections blend into the pattern. Smooth finishes are the hardest to patch invisibly, and on a smooth wall you should expect the contractor to discuss painting the full wall section as part of the plan.
If a cured patch stands slightly proud or rough, all is not lost. High spots can often be knocked down and scraped flush to blend the patch rather than tearing out the base coat and starting over. That is a legitimate correction, not a shortcut.
Step 7: Decide Whether to Blend the Patch or Paint the Wall
Sometimes a perfect match is not achievable, and the honest answer is to stop chasing it. When the wall is heavily faded, when the finish is smooth, or when there are many repairs scattered across one elevation, painting the entire wall or section is the reliable fallback. One uniform coat beats five near-miss patches.
Suppose a homeowner in north Scottsdale has spider-web cracking across a west-facing wall that has faded from desert tan to pale sand over 18 years. In that scenario, a contractor might quote crack repair plus a tinted fog coat or paint over the whole elevation, rather than 15 individual color-matched patches. The quote looks higher than a patch-only bid, but it is the version that holds up visually. This is also why two quotes for the same crack can differ threefold; one bids a patch, the other bids an invisible result.
For budgeting context, Fixr.com puts the national average cost to repair stucco at $900 to $3,000, averaging about $1,700 for buckled three-coat stucco in a 10×10-foot area. Color and texture matching sits inside or on top of that range depending on scope. Professional Stucco Color Matching work adds mixing time, test samples, and sometimes a return visit after cure, which is labor a flat patch job skips.
When to Handle a Colored Stucco Patch Yourself and When to Call a Pro
A hairline crack on a painted wall you plan to repaint anyway is a reasonable DIY job with a quality patch product. Beyond that, the math changes. Call a professional when the wall has integral color, when the finish is smooth or distinctive, when cracks are widespread or paired with bulging, or when you find hollow spots or signs of water damage behind the stucco. Widespread cracking or soft areas can point to problems under the surface, and a cosmetic patch over a structural or moisture issue just hides the evidence; that situation needs an inspection, not a kit.
One honest limitation worth stating: even a skilled color match can read slightly different in raking evening light for the first several weeks while the patch cures and weathers in. A good contractor will tell you that upfront rather than promise invisibility on day one.
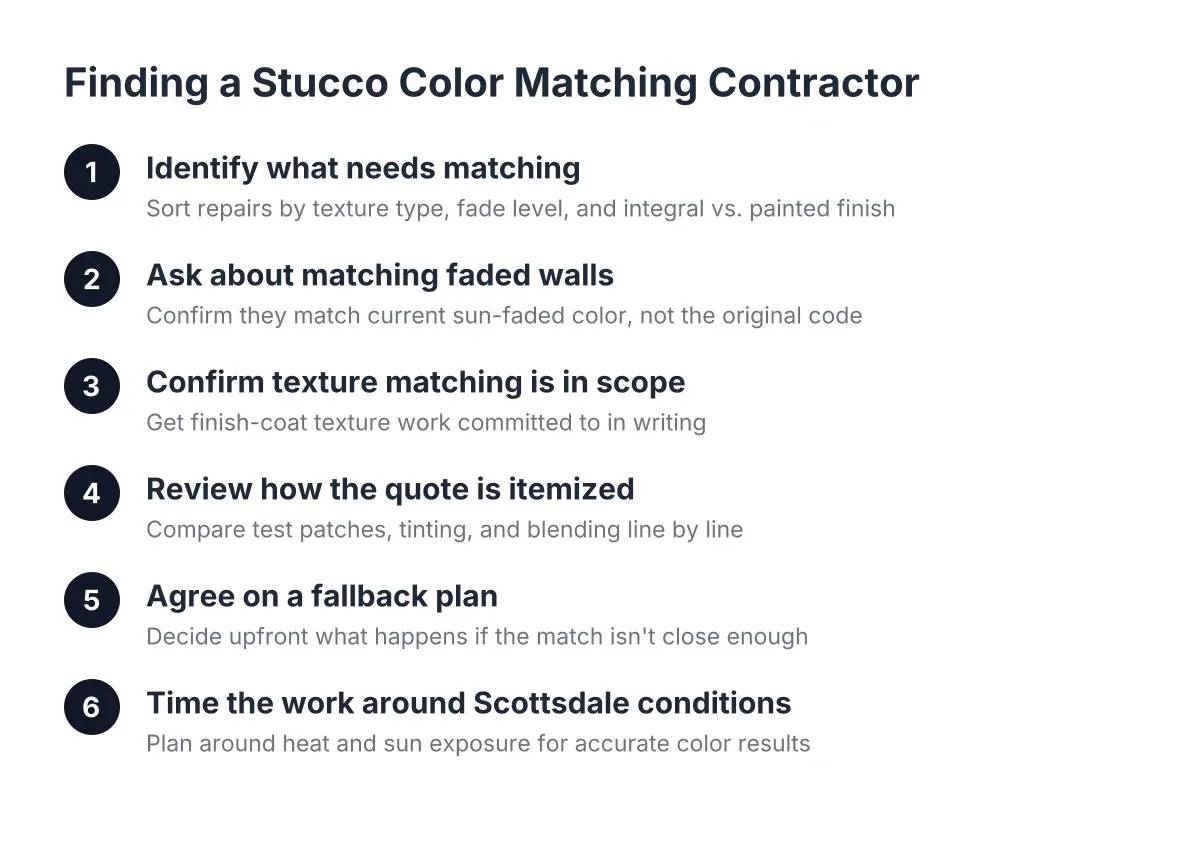
If your stucco house exterior in Scottsdale has cracks, holes, or fading that you want repaired without a visible patch, reach out for an estimate. Ask how the color and texture will be matched, whether a test sample is included, and what the fallback plan is if the match falls short. Those answers tell you quickly whether you are hiring someone who patches walls or someone who makes repairs disappear.
If you need stucco repair, Scottsdale Stucco Repair can help.
Prefer to talk it through? Call (480) 637-3464 — a quick call is usually the fastest way to get a straight answer for your situation.