Matching Existing Stucco Color After Repair: How to Avoid a Patchy Wall
The biggest fear with any stucco repair is not the crack itself. It is the blotch left behind: a patch that dries lighter, sits at a different sheen, or shows a hard outline every afternoon when the sun hits the wall. Matching existing stucco color is the part of the job that separates a repair nobody notices from one the whole street can see. Achieving a seamless stucco patch blending requires careful attention to color, texture, and technique. This guide walks through the process step by step, the same way a careful crew would run it on a Scottsdale wall that has been baking in the sun for fifteen years.
One thing worth knowing up front: color mismatch is a cosmetic problem, not a structural one. A patch that shows does not mean the repair underneath failed. But cosmetic matters. If you own rental homes, a visible patch is what triggers the HOA letter or the tenant complaint, so it is worth getting right the first time.
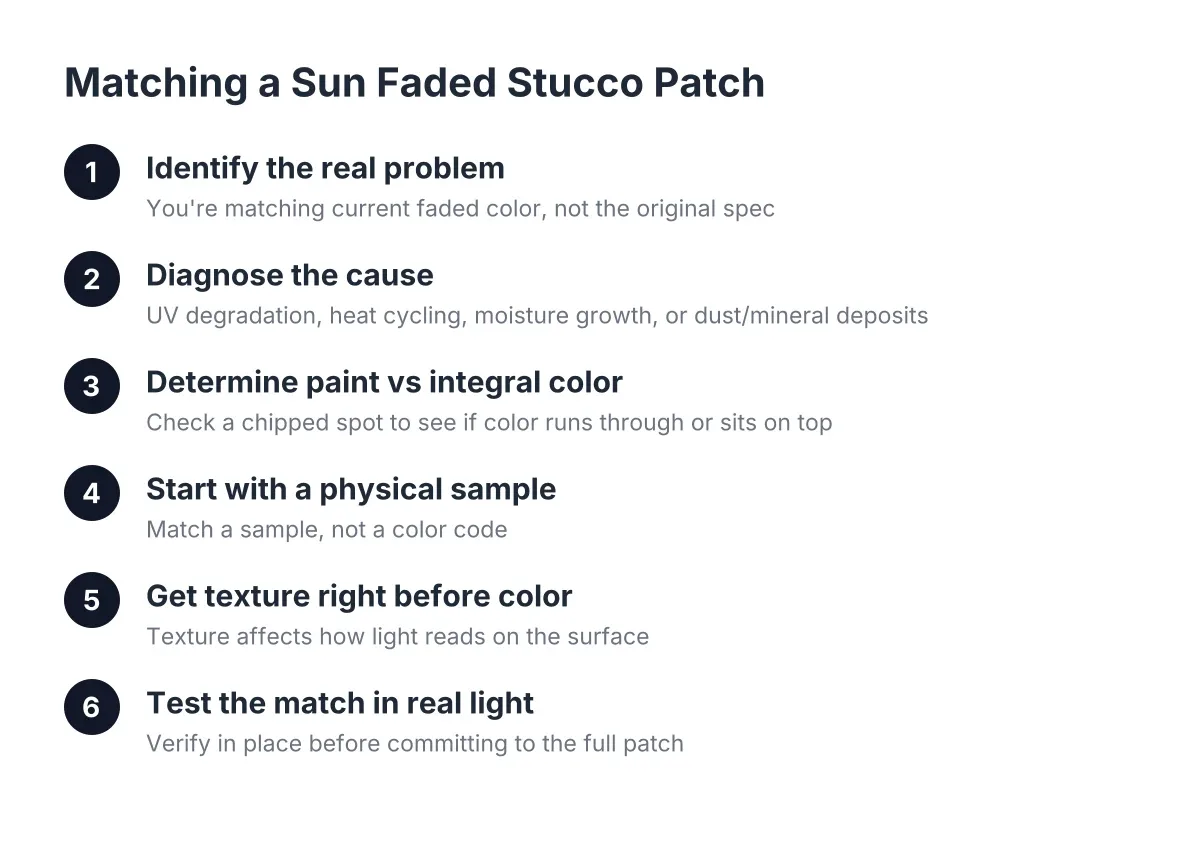
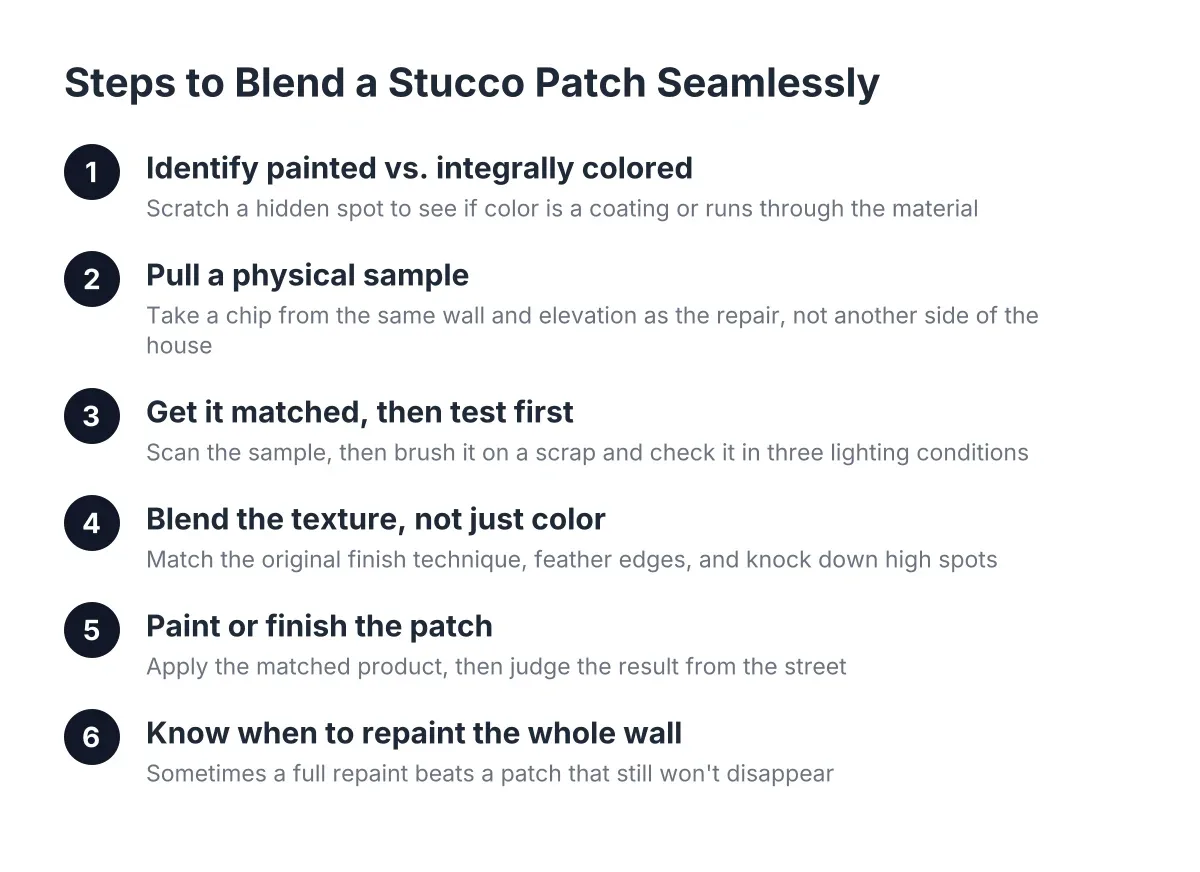
Step 1: Identify Whether the Wall Is Painted or Integrally Colored
Before anyone talks about color, figure out how the existing wall got its color in the first place. This single answer changes the entire matching approach.
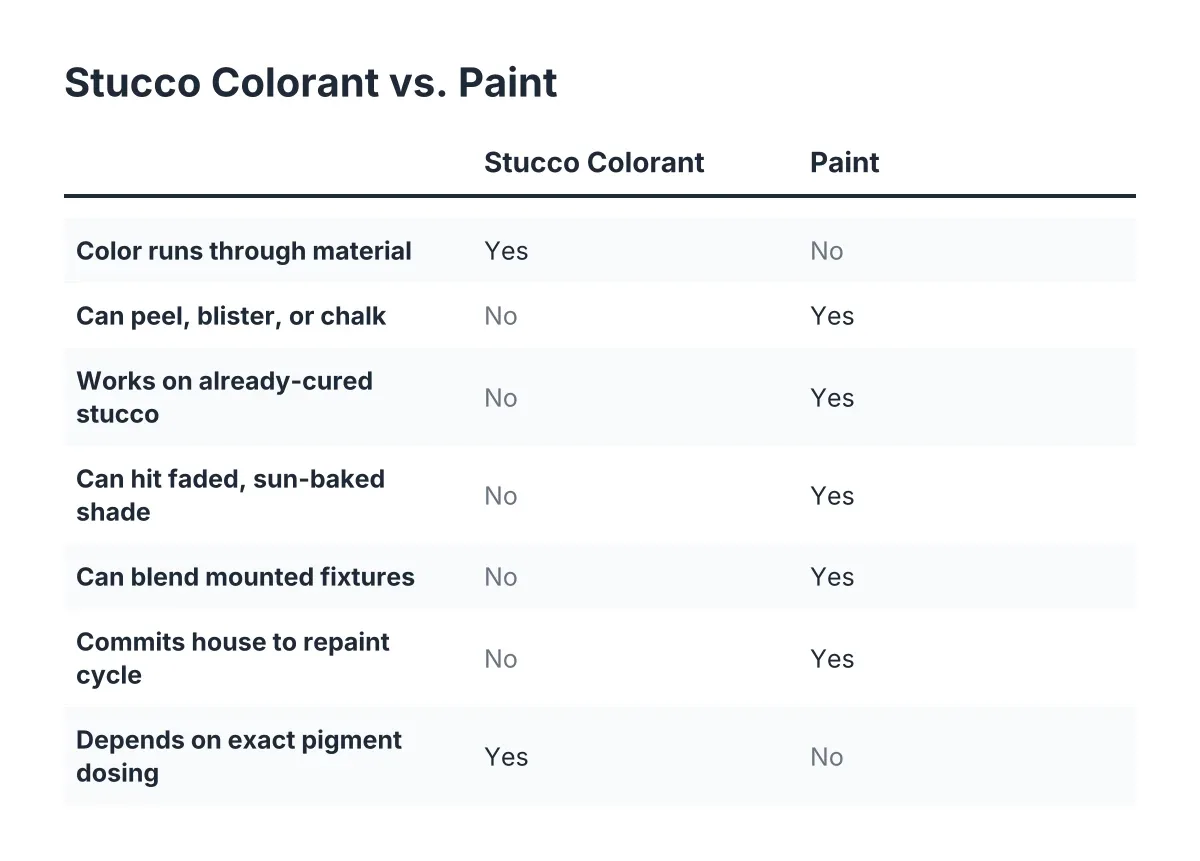
Stucco walls carry color one of two ways. Painted stucco has a coat of exterior masonry paint over a gray or tan base. Integrally colored stucco has pigment mixed into the finish coat itself, so the color runs through the material.
Here is how to tell the difference:
- Scratch a hidden spot with a key or screwdriver. If the color flakes off and reveals gray or off-white underneath, the wall is painted.
- Look at chips and worn edges near the ground or around hose bibs. Painted stucco shows a thin colored skin; integral color looks the same all the way through.
- Check for brush or roller texture in recessed areas. Paint pools in the low spots of the stucco finish; integral color does not.
This matters because the two are matched differently. Painted stucco gets matched with paint. Integrally colored stucco can be matched with a pigmented finish coat, or painted as a fallback. Mixing up the two is the most common reason a patch reads as a different material, not just a different shade.
Step 2: Pull a Physical Sample for Matching the Existing Stucco Color
Never match color from a photo, a phone screen, or memory. Take a physical piece of the wall to the paint counter or the finish supplier.
For a painted wall, use a utility knife and a stiff putty knife to lift a chip about the size of a quarter from an inconspicuous spot, ideally near the area being repaired. Behind a downspout or below a hose bib works. For integrally colored stucco, chip out a small sample of the finish coat itself, since the color you need to match lives in the material, not on top of it.
Take the sample from the same wall as the repair, not from another side of the house. A north-facing wall and a west-facing wall on the same Scottsdale home can be two visibly different colors after a decade of sun, even though they started identical. Matching existing stucco color means matching the wall as it is today, faded and all, not the color on the original spec sheet.
Suppose a landlord owns a duplex near Via Linda with a stucco crack repair on the west elevation. Say the original builder color was a warm tan. After twelve summers, that west wall has bleached two shades lighter than the shaded north side. In that scenario, a match pulled from the north wall would leave a patch that looks darker than everything around it, even though it is technically the "right" color.
Step 3: Get the Color Matched, Then Test It Before Committing
Take the sample to a paint store with a spectrophotometer, the scanning device that reads a chip and builds a formula. Most major suppliers offer this; a Sherwin-Williams stucco paint match from a physical chip is a standard request at the counter, and other exterior masonry paint lines can do the same. For integral color, a stucco finish supplier can match pigment loads against your chip.
Do not stop at the scan. Machines get you close; your eyes make the final call. Brush or trowel the matched product onto a scrap of backer board or a hidden section of wall, then let it dry fully. Wet stucco finish and wet paint both dry lighter than they look going on, sometimes by a full shade.
Check the dried test in three lighting conditions: morning shade, direct afternoon sun, and dusk. Arizona sun is brutal on color judgment. A match that looks perfect at 10 a.m. can show a visible edge at 4 p.m. If it reads wrong in any of the three, adjust the formula and test again. This step costs a day. Skipping it costs a repaint.
Step 4: Techniques for Stucco Patch Blending and Texture Matching
Texture is half the match, and most homeowners find this out the hard way. A patch with perfect color and wrong texture still shows, because light catches the surface differently. Paint over a mismatched texture and the outline telegraphs straight through the paint.
Identify the existing stucco finish before patching: sand, dash, skip trowel, lace, or smooth. Then apply the patch material with the same tools and technique the original wall got. A sand finish needs a sponge float. A skip trowel finish needs the same loose, skipping stroke.
Two techniques do most of the blending work:
- Feather the edges. Work the new material slightly past the repair line into the surrounding texture with a sponge float, so there is no hard border where old meets new.
- Knock down high spots. If the patch cures standing taller or rougher than the wall around it, scrape and knock down the high points rather than tearing the patch out. Blending an imperfect patch is faster than redoing it, and it usually works.
A patch that stands out on close inspection often traces back to someone patching with a different technique than the original finish. Ask whoever does the work what finish the wall has. If they cannot name it, that tells you something before any money changes hands.
Step 5: Paint or Finish the Patch, Then Judge From the Street
With texture cured and color tested, apply the finish. For painted walls, prime the patch first; raw stucco patch material drinks paint differently than the aged wall around it, and an unprimed patch can flash at a different sheen even when the color is dead on.
Then step back thirty feet and look at the wall the way a neighbor, a tenant, or an HOA inspector would. A properly matched patch should be hard to pick out from the street. Up close at arm's length, you may still find it if you know where to look. That is a realistic standard; expecting a patch to be invisible from six inches on a sun-faded wall is not.
While you are at it, handle the details that give patches away. Fixtures mounted on the repaired wall, such as light bases, conduit, or a raceway, should be painted to match the surrounding stucco. A freshly blended wall with a mismatched junction box next to the patch draws the eye right back to the repair. The success of stucco patch blending hinges on how well these finishing touches are executed.
Step 6: Know When to Paint the Whole Wall Instead
Sometimes the honest answer is that matching the existing stucco color on a small patch will not get there. Heavy sun fading, multiple shades of discoloration across one elevation, or an old repair already sitting at a third color all push the odds against a spot match.
The fallback is straightforward: paint the entire wall or section, corner to corner. Corners are natural break lines; the eye accepts a slight shade difference between two walls meeting at an edge, but it catches a shade difference in the middle of a flat plane instantly. Painting to the corners resets the whole elevation to one uniform color and buries the patch for good.
For a small landlord, this is often the better math anyway. Say a rental near Thomas and Hayden has three old patches plus the new one, each a slightly different tan. When stucco patch blending on multiple repairs is needed, chasing four separate matches costs more in trips and testing than one wall repaint, and the repaint clears the HOA violation in a single line item with a clean invoice for the file. For scale on the repair side, Fixr.com puts the national average cost to repair stucco at $900 to $3,000, averaging around $1,700 for a buckled three-coat section about 10 by 10 feet; a wall repaint on top of that is often modest by comparison.
What a Legitimate Color Match Job Looks Like on Paper
If you are hiring this out rather than doing it yourself, the written scope tells you whether the contractor takes Stucco Color Matching seriously or treats it as an afterthought. As of 2026, a scope worth signing in Scottsdale should spell out, in plain language:
- How the wall's color type will be identified, paint versus integral color
- That a physical sample will be used for the match, not a color name from a fan deck
- The finish texture being matched, named specifically
- Whether the plan is a spot blend or a corner-to-corner repaint, and what triggers the repaint fallback
- Who supplies the paint or pigmented finish, and which product line
A quote that just says "patch and paint to match" with no detail on any of the above is where mismatched blotches come from. One honest caveat: on walls with severe or uneven fading, elastomeric coatings, or old repairs of unknown material, even a careful pro may recommend the full repaint from the start, and that recommendation is usually the right call rather than an upsell. Stucco is the dominant exterior in this region for a reason; the National Association of Home Builders reports it was used on 48% of new single-family homes started in the Mountain division in 2024, so crews here match faded desert walls constantly. The good ones will tell you plainly when a spot match will work and when it will not.
If you need stucco repair, Scottsdale Stucco Repair can help.
Prefer to talk it through? Call (480) 637-3464 — a quick call is usually the fastest way to get a straight answer for your situation.