Professional Stucco Texture Matching: The Step-by-Step Process Pros Use
A stucco patch that matches in color but not in texture still reads as a patch. You can see it from the street, the HOA can see it, and it bothers you every time you pull into the driveway. This guide walks through the professional stucco texture patch technique—the process step by step—so you know what a correct repair looks like before anyone picks up a trowel. It matters whether you are patching a crack on the house or finishing a bare block wall that needs to look like it was always part of the home.
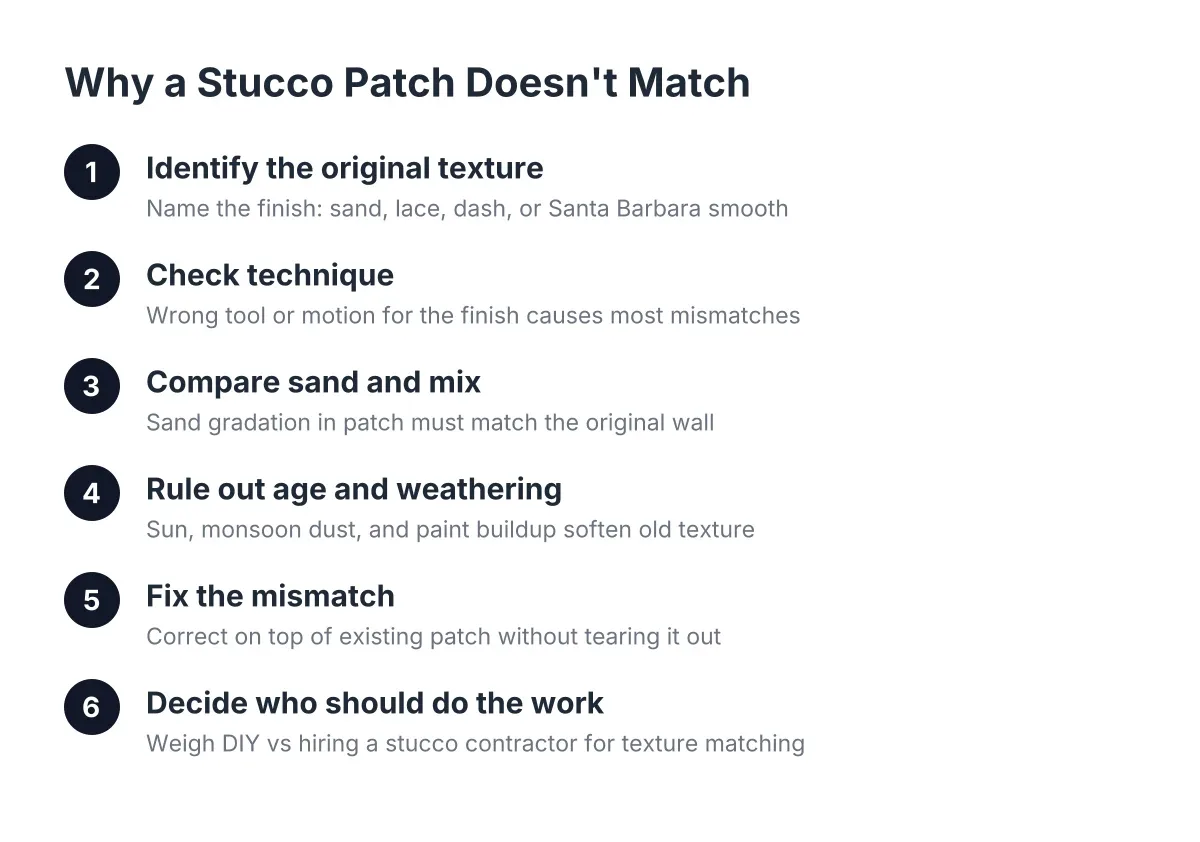
Texture is where most stucco repairs fail. Color can be adjusted with paint. Texture cannot be painted over; it sits in the surface itself. When a patch stays visible after painting, the texture is almost always the reason, and it usually means whoever did the repair never identified the original finish or technique. The steps below show how pros avoid that outcome.
Stucco is not a niche material here. According to the National Association of Home Builders, stucco was the exterior wall material on 48% of new single-family homes started in 2024 in the Mountain division, which includes Arizona. That is why a mismatched patch stands out so much in a Scottsdale neighborhood: every wall around it sets the standard.
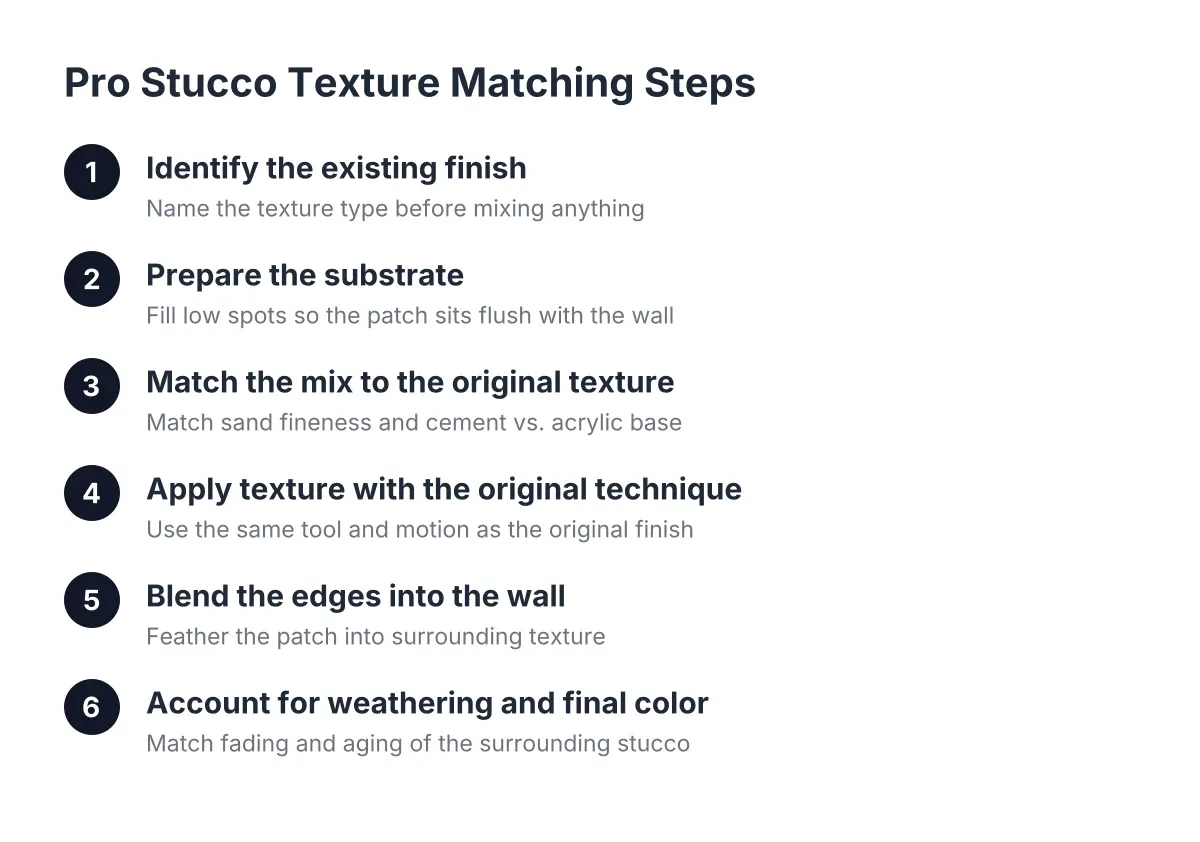
Step 1: Identify the Existing Finish Before Mixing Anything
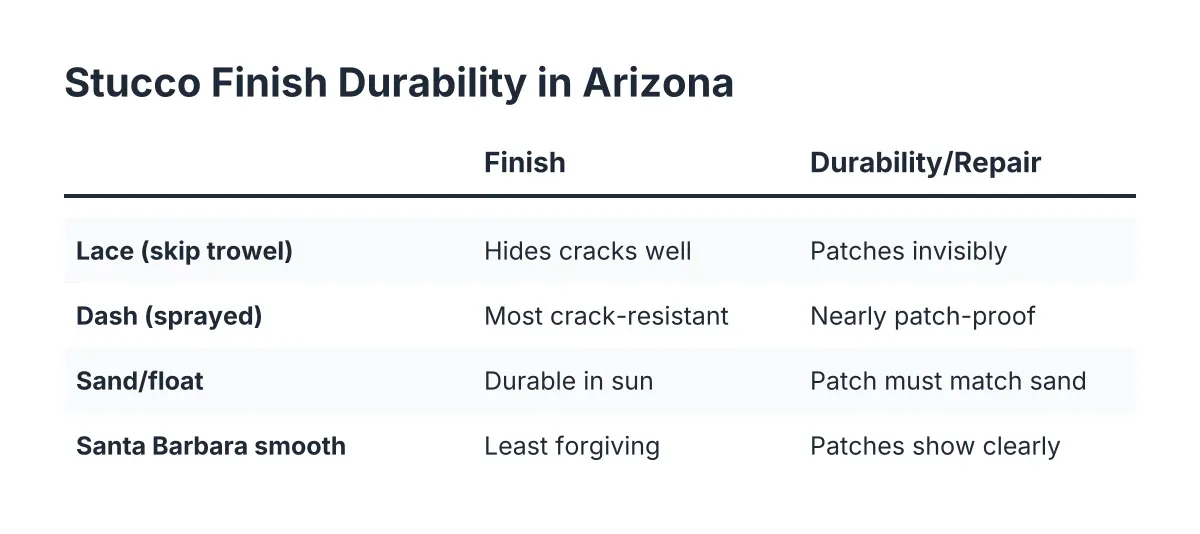
First, stand back and name the texture. The common stucco texture types in Scottsdale, AZ are sand finish, dash (a sprayed, pebbly texture), lace (also called skip trowel, with flattened islands over a rough base), and Santa Barbara smooth, a soft, hand-troweled finish with subtle movement. Each one is applied with a different tool and a different motion, so you cannot match what you have not identified.
Look at the wall from ten feet away, then up close. Check how coarse the aggregate is, how deep the texture reads in raking light, and whether the pattern looks sprayed or troweled. Morning or late-afternoon sun makes texture depth obvious; noon light flattens everything and hides the differences.
In addition, note the age of the finish. Thirty years of Arizona sun rounds off sharp texture edges and fades color. A brand-new lace pattern next to a weathered one can mismatch even when the technique is identical, which is why Step 6 matters as much as the application itself.
Step 2: Prepare the Substrate So the Patch Sits Flush
Texture work fails before it starts if the surface underneath is wrong. A damaged or indented area has to be filled with base coat first, so the repair sits flush with the surrounding wall. Texture applied over a low spot creates a visible dish; texture over a high spot creates a bump that catches light.
For crack repair, that means opening the crack slightly, cleaning out loose material, and filling it so the face is level. For wider cracks, a backer rod, which Sika describes as a closed-cell foam cord, creates a backing inside the crack before sealant goes in. Additionally, for holes in a wall, the repair follows the traditional three-coat logic: a scratch coat that gets scored so the next layer bonds, a brown coat to build the plane flat, and only then the finish coat that carries the texture.
Stucco Patch Texture Technique for Block Wall Preparation
If you are stuccoing a bare cinder block wall or a new addition left unfinished by the builder, this step looks different. Block does not need lath the way wood framing does, but it does need a clean, properly bonded base coat built out far enough that the finish coat can mimic the house. Suppose your contractor finished a room addition and left the block bare, saying stucco was a separate trade. In that scenario, the stucco crew builds up the base on the block first, then matches the finish coat texture to the existing walls, so the addition reads as original construction rather than an add-on. This counts as stucco installation, not repair, and it is priced and scheduled differently, but the texture matching steps from here on are the same.
Step 3: Match the Mix to the Original Texture
Next, the mix itself has to agree with the wall. The fineness of the sand in the finish mix should match the texture being replicated. A sand finish made with coarse aggregate will never blend into a wall finished with fine sand, no matter how skilled the trowel work is. This is the step most quick patch jobs skip, and it is why those patches look fuzzy or grainy next to the original. When applying a stucco patch with the proper texture technique, the aggregate size is a critical factor in achieving an undetectable result.
Pros also decide here between a cement-based finish and an acrylic finish, matching whatever is already on the house. Mixing the two on the same wall creates differences in sheen and weathering that show up within a season or two in Arizona sun.
Step 4: Apply the Texture With the Original Technique
This is the core of professional stucco texture matching: the patch has to be textured with the same tool and motion as the original finish, not just a similar-looking result.
- Sand finish: applied with a trowel, then floated in circular motions to pull the sand to a uniform, even grain.
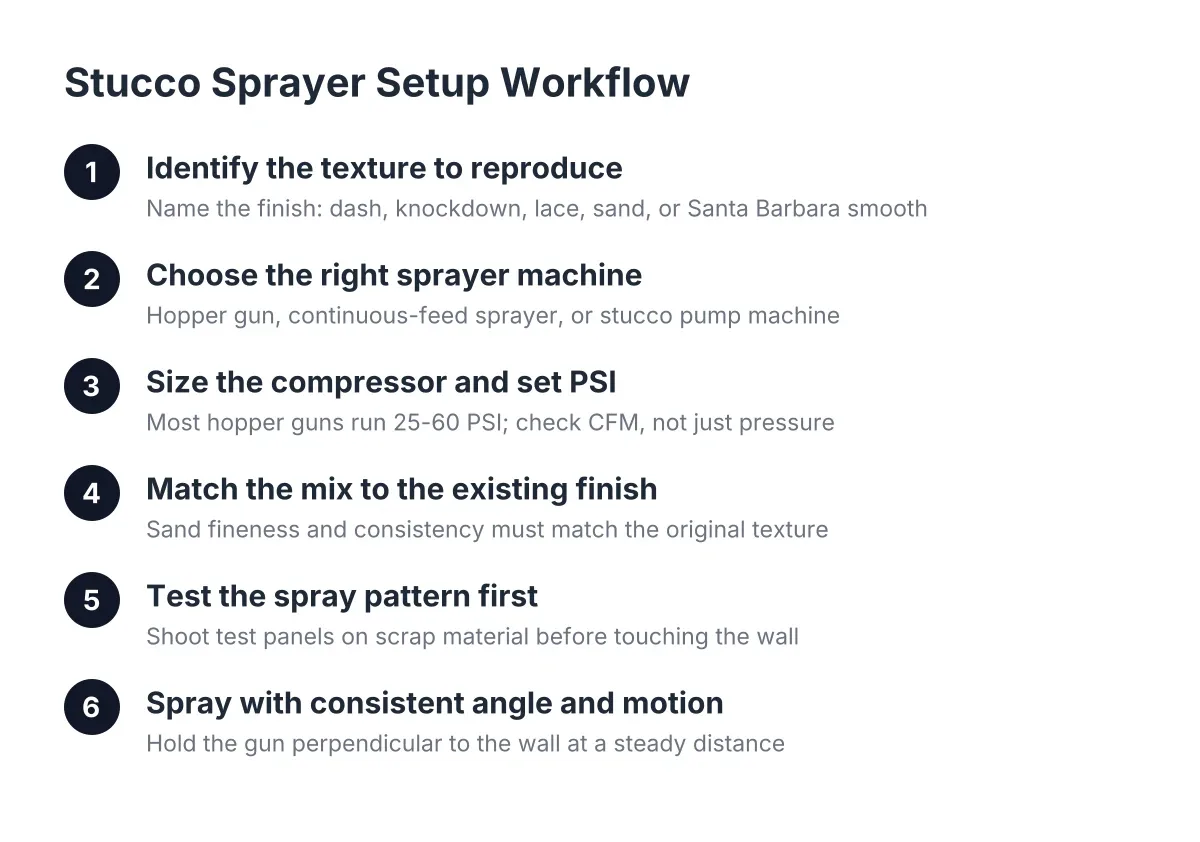
- Dash: sprayed on with a hopper gun or flicked by hand; spray stucco texture is dialed in by adjusting mix thickness, air pressure, and distance from the wall.
- Lace or skip trowel: a rough coat is dashed or troweled on, then the high points are knocked down with a clean trowel once the material firms up.
- Santa Barbara smooth: hand-troweled in thin passes; this is the least forgiving finish to patch, and small patches on smooth walls are the hardest to hide.
The timing matters as much as the tool. Knock a lace finish down too early and it smears; too late and the trowel skips and tears. On dash, a test spray on a scrap board or cardboard before touching the wall is standard practice, because pattern density is nearly impossible to correct once it is on the house.
Step 5: Blend the Edges Into the Surrounding Wall
A patch with a hard edge announces itself even when the texture inside it is right. Therefore, pros feather the new texture past the patch boundary, overlapping into the existing finish so the eye finds no line to follow. A damp sponge helps here; light sponge work at the margins softens the transition and pulls the new pattern into the old one.
However, blending has limits on certain finishes. On a smooth Santa Barbara wall, or when a wall has been patched several times already, a truthful contractor will tell you a 100% invisible patch may not be achievable. The honest fallback is refinishing or painting the entire wall or a full section to a natural break point, such as a corner or control joint. A uniform wall beats a well-intentioned patch that still catches your eye.
Step 6: Account for Weathering and Final Color
Finally, match the age, not just the pattern. Fresh stucco has crisper edges and a different sheen than a finish that has baked through twenty Scottsdale summers. Skilled finishers soften new texture slightly, knocking down and scraping high spots so it reads like its weathered neighbors instead of standing proud of them. This knock-down approach also rescues patches that cured a little rougher than the wall around them, without redoing the base coat.
Color comes last, after the texture has fully cured, because wet and cured stucco read differently. If an integral color finish cannot be matched exactly, painting the wall section is the standard fix. Texture mistakes have no such fallback, which is why this entire process runs texture-first.
Why Professional Stucco Texture Patch Technique Pays Off on Rentals and Block Walls
Done right, texture matching protects more than looks. For a landlord with a few stucco rentals in the East Valley, a clean match closes out an HOA violation letter the first time, keeps a pre-lease walk-through uneventful, and produces one tidy invoice instead of a callback. For context on budget, Fixr.com puts the national average cost to repair stucco between $900 and $3,000, averaging about $1,700 for buckled three-coat stucco in a 10×10-foot area; texture matching is part of a proper repair at that level, not an upgrade on top of it.
For the block-wall project, texture matching is the whole point. A proper stucco patch using the right texture technique is what turns a gray cinder block fence or a bare addition into something that looks like original construction, and it is worth asking any contractor to walk you through the six steps above before they start. A worthwhile answer will mention identifying your specific finish, matching the sand, and sample-testing the technique before committing to the wall.
A fair warning on limits: texture matching is a skill built over hundreds of walls, and the finishes common to stucco texture in Scottsdale, AZ homes each demand their own touch. DIY patch products applied with a steel trowel can produce a passable texture on small, low-visibility spots. On a front elevation, a smooth finish, or a wall the HOA photographs, bring in someone who matches textures for a living. The difference shows for the life of the wall.
If you need stucco repair, Scottsdale Stucco Repair can help.
Prefer to talk it through? Call (480) 637-3464 — a quick call is usually the fastest way to get a straight answer for your situation.