Water Damage Inside Stucco Block Walls: 8 Ways to Spot Moisture Penetration
If your Scottsdale home has stucco over concrete block, water damage inside stucco walls does not look the way most homeowners expect. There is no rotting plywood behind the finish, no soggy drywall. Instead, moisture works through hairline cracks, sits inside the block cores, and slowly breaks the bond between the stucco and the masonry underneath. By the time you see a stain or a soft patch, the water has usually been there for a while. Learning how to spot moisture in stucco is the fastest way to catch the problem before it spreads.
This matters twice over if you are getting a house ready to list. Inspectors in Scottsdale, AZ look closely at stucco, and a flagged moisture issue can stall a sale or knock money off the price at the negotiating table. It also matters if you have been burned by a contractor before and want to verify a problem yourself before anyone quotes you a repair.
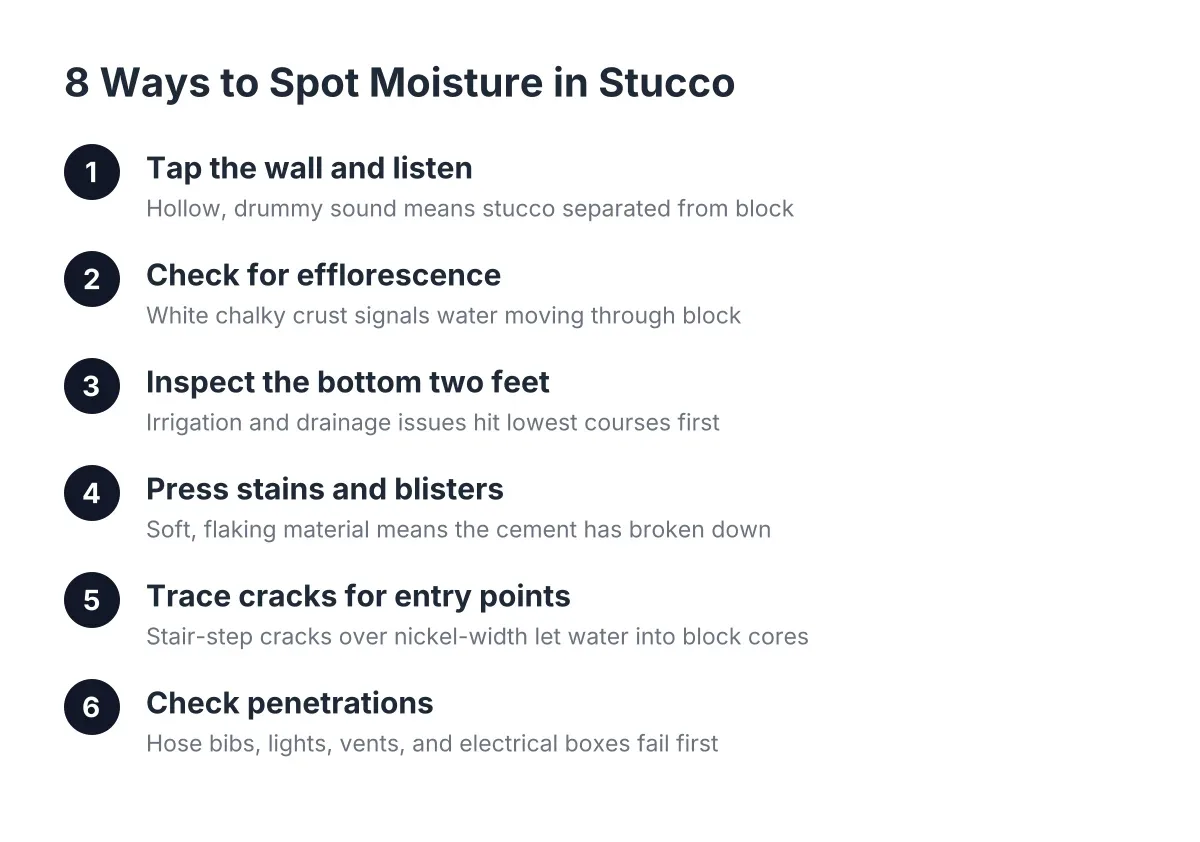
Here are eight specific ways to identify moisture penetration in stucco on block, what each sign means, and what a legitimate repair looks like.
1. Tap the wall and listen for hollow spots
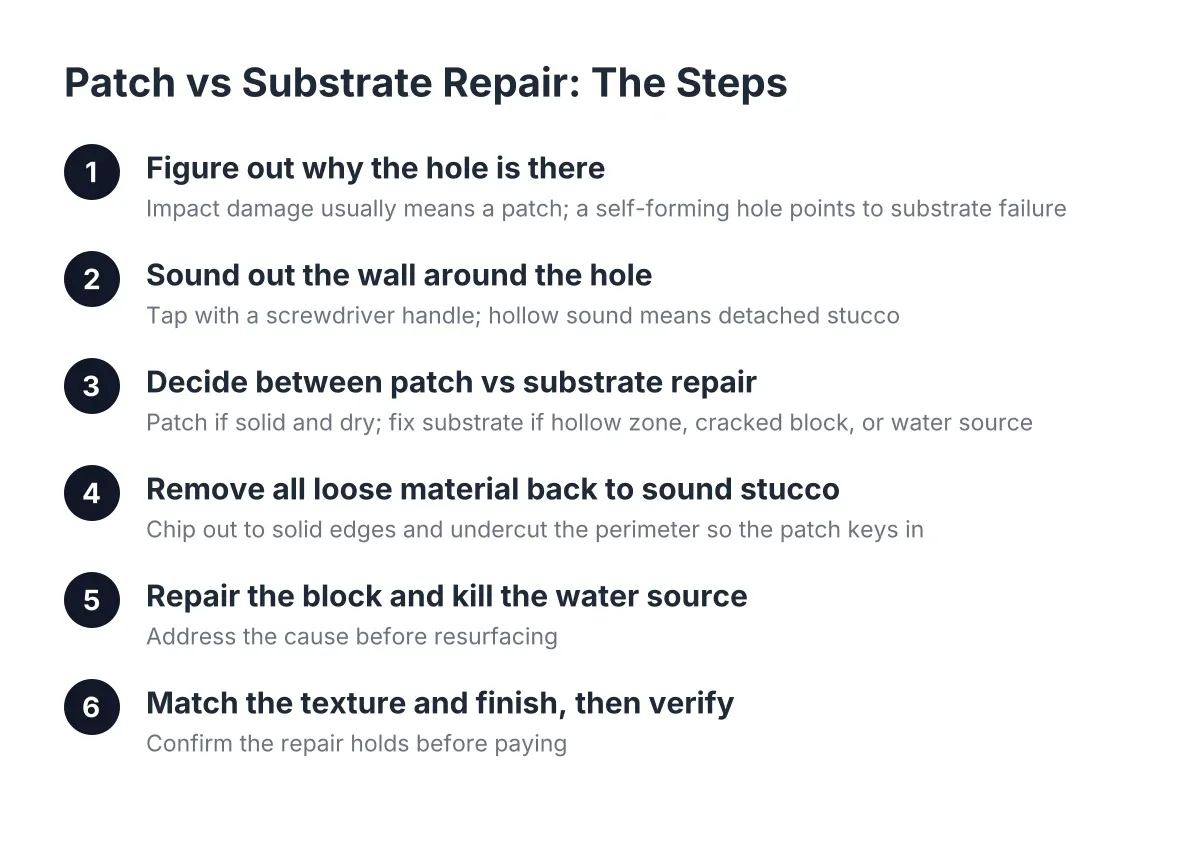
The fastest field test for water damage inside stucco is your knuckle. Tap across the wall in a grid pattern and listen. Solid stucco bonded to block sounds dense and dead. A hollow, drummy sound means the stucco has separated from the masonry behind it, often because water got behind the coat or because the original crew skipped a bonding agent.
Mark hollow areas with painter's tape as you go. On a block wall, delamination tends to spread outward from the original entry point, so mapping the hollow zone tells you roughly where the water is getting in. A repair that only patches the visible crack while ignoring a two-foot hollow area around it will fail, and a contractor who does not tap-test the wall before quoting is guessing.
2. Check for a white, chalky crust called efflorescence
Efflorescence is the mineral residue water leaves behind when it moves through concrete block and evaporates at the surface. It shows up as a white or gray powdery crust, usually in streaks or blotches, and it is one of the clearest signs that moisture is traveling through the wall from behind rather than just splashing the surface.
On a painted stucco block wall, efflorescence often pushes the paint off in small blisters before you see the crust itself. Wipe the area; if the white residue comes back after the next rain, water is still moving through the block. Cleaning the crust without stopping the water source is cosmetic, not a repair.
3. Look at the bottom two feet of the wall first
On stucco block walls, water damage concentrates near the base. Irrigation spray, poor drainage that pools water against the footing, and moisture wicking up from wet soil all attack the lowest courses of block first. Look for staining, bubbling paint, crumbling stucco edges, and soil or gravel piled against the wall.
Vibration makes this worse at corners near mechanical equipment. An air conditioning condenser sitting close to a stucco wall transmits constant low-level vibration into the masonry; combine that with water pooling at the foundation and you get corner cracking and spalling that keeps coming back. If your damage is at a corner near the AC unit, the fix has to address drainage, not just the stucco.
4. Press on stains and blisters to test for soft material
Water damage in stucco eventually softens the material itself. Press firmly on any stained, bubbled, or discolored area with a finger. Sound stucco over block feels like pressing on concrete, because it basically is. If the surface gives, flakes, or crumbles under light pressure, the cement in that area has broken down and the patch or coat behind it has failed.
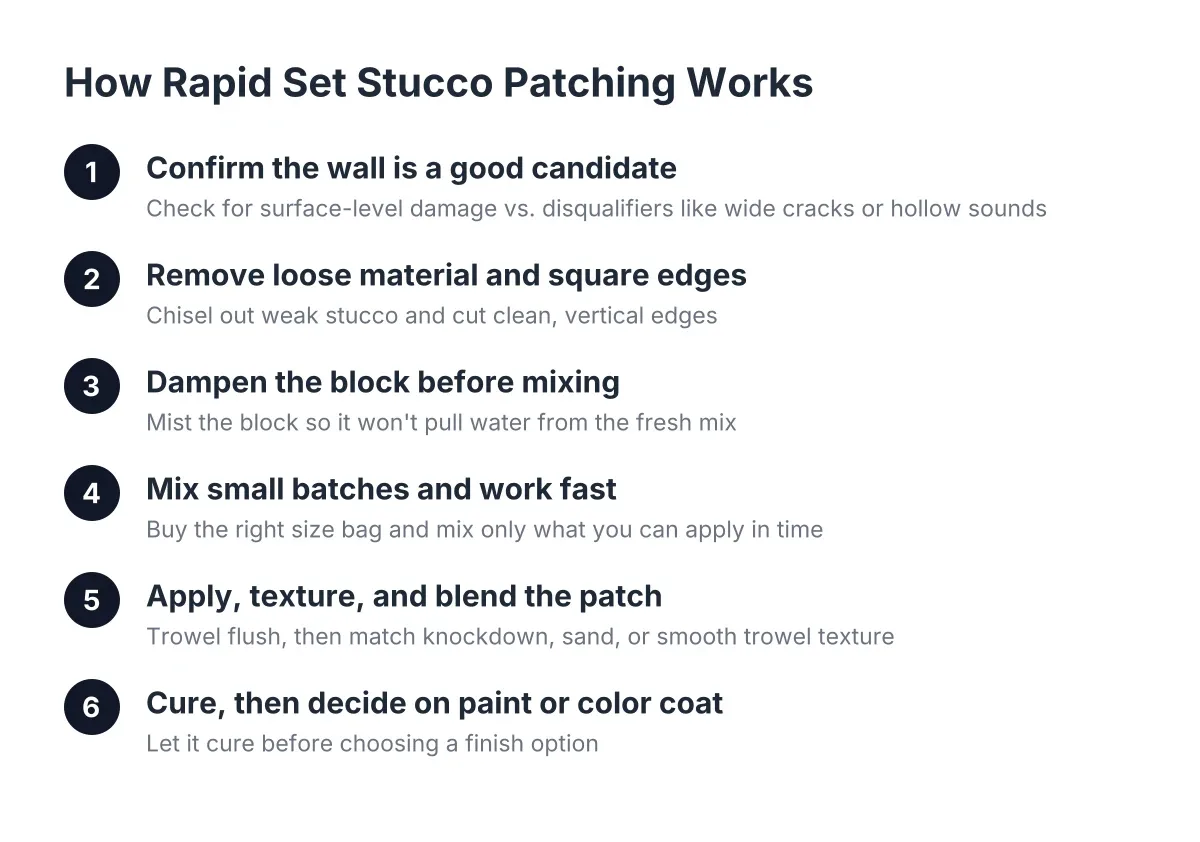
A weak, punky patch cannot be skim-coated over. It has to be broken out to sound material and rebuilt, because anything applied over failed stucco inherits the failure. This is worth knowing before you review quotes: a bid that says "patch and paint" over an area you can dent with your thumb is a bid for a repair that will not survive your buyer's inspection.
5. Trace cracks to see whether they are entry points
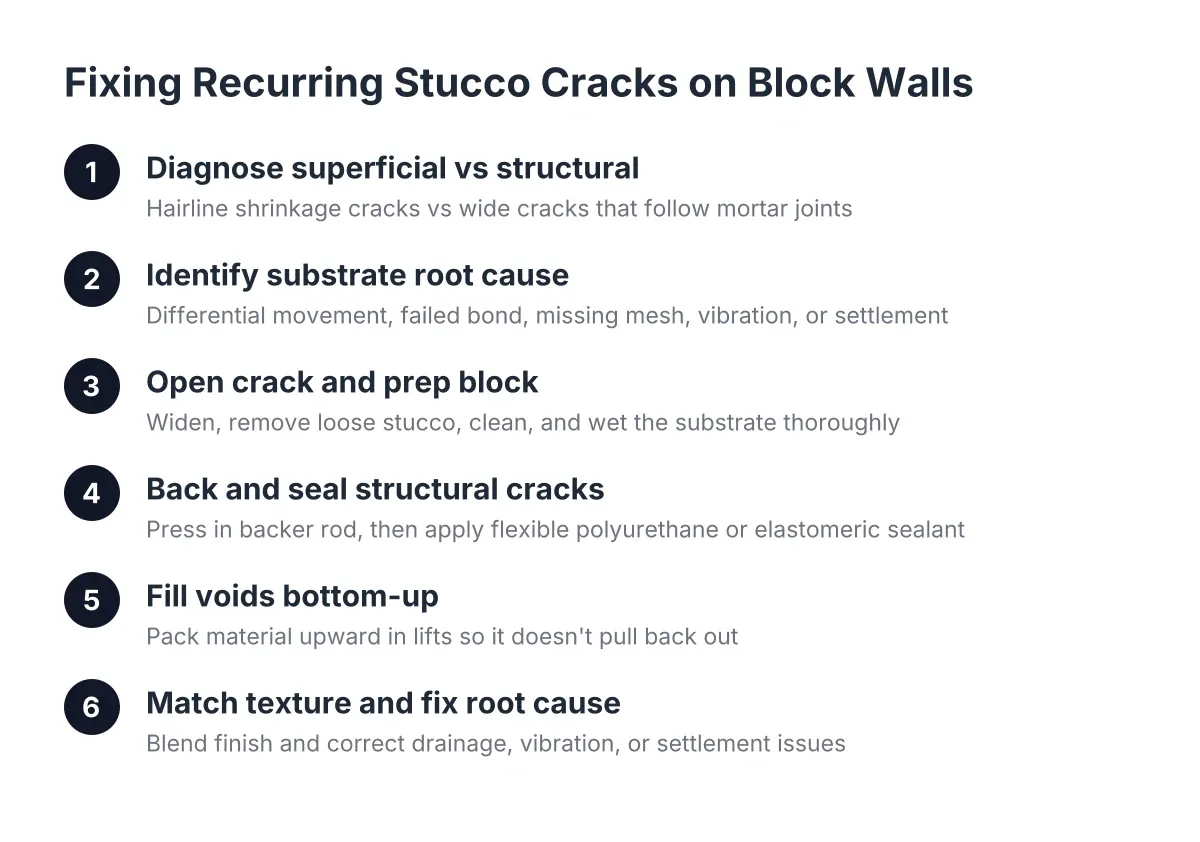
Not every crack lets water in. Hairline surface cracks under about the width of a credit card edge are common on stucco over block and often stay cosmetic. The cracks that cause water damage inside stucco walls are the ones that go through the coat: cracks wider than a nickel's edge, cracks with offset edges where one side sits higher than the other, and cracks that follow the mortar joints in a stair-step pattern.
Stair-step cracking is specific to block construction. It tells you the block wall itself is moving, usually from settling or thermal expansion, and the stucco is just reporting the news. Water follows these cracks straight into the block cores. A proper crack repair on a moving joint uses backer rod, which according to Sika is a closed-cell foam cord placed inside the crack to create a backing before sealant goes in. Smearing patch compound across a moving crack without that backing guarantees the crack reopens.
6. Check penetrations: hose bibs, lights, vents, and electrical boxes
Every hole through a stucco block wall is a potential leak. Hose bibs, exterior outlets, light fixtures, and vents are the most common entry points for moisture, and the sealant around them fails long before the stucco does. Look for gaps, cracked caulk, staining below the penetration, and stucco that crumbles at the edge of the fixture.
Preventing water entry at these points is the single most important part of patching around them. Suppose a Scottsdale seller gets an inspection report flagging "moisture staining at exterior wall below hose bib." In that scenario, the real fix is removing the damaged stucco around the penetration, sealing the gap correctly, and patching with matched texture and color, not caulking over the stain. That is a half-day repair when caught early and a much bigger one when the water has been running into the block for two summers.
How to spot moisture in stucco and fix hidden water problems
Stucco can handle getting rained on; that is its job. The problem starts when water gets behind or inside the coat and cannot dry out. Trapped moisture dissolves minerals in the block, corrodes any embedded metal like lath or fasteners, breaks the bond between coats, and feeds the dark growth you see on shaded walls. That discoloration is often not surface dirt; it embeds in the pores of the material, which is why it comes back after pressure washing.
Speaking of pressure washing: high-pressure water is a common cause of moisture penetration, not a cure for it. Driving water through hairline cracks at 3,000 PSI puts moisture exactly where you do not want it. Homeowners who try to spot moisture in stucco during or immediately after rain often mistake surface dampness for deeper water entry, but the tap test and visual cues below will distinguish between the two.
7. Watch what the wall does after rain
Arizona monsoon storms are a free diagnostic tool. After a hard rain, walk the wall and note where dark, damp patches linger after the rest of the surface has dried. Stucco over block dries fast in Scottsdale heat; any area still dark four or more hours after the wall gets sun is holding water, either in the coat itself or in the block behind it.
Also note where water lands during the storm. Roof runoff without a gutter, a scupper dumping onto a parapet wall, or a misaligned drip irrigation head can put hundreds of gallons a season onto one section of wall. Fix the water source first; otherwise you are paying to repair the same spot every few years.
8. Know when the damage is beyond a surface fix
Some findings mean you need more than stucco patching. Get a professional evaluation, and possibly a structural opinion, if you see any of the following:
- Stair-step cracks wider than a quarter inch, or cracks that have visibly grown in the past year
- Block that is spalling, meaning the face of the block itself is flaking off behind the stucco
- Hollow areas larger than a few square feet, especially spreading from the base of the wall
- Rust staining bleeding through the surface, which points to corroding metal inside the wall
- A previous patch that failed within a year or two, since that usually means the underlying cause was never addressed
There is a real trade-off here for a pre-listing seller. A fast cosmetic patch may get you to the open house, but if the buyer's inspector taps the wall and finds hollow stucco around your fresh paint, you have spent money and lost credibility in the same move. When the sale depends on it, a documented, correctly scoped repair with a clean invoice is worth more than a cheap one.
What repairing water damage inside stucco actually costs
For 2026 budgeting, national repair figures give you a sanity check on quotes. According to Fixr.com, stucco repair nationally runs $900 to $3,000, averaging around $1,700 for repairing buckled three-coat stucco in a 10×10-foot area. Stucco on block walls often lands toward the lower half of a comparable range because there is no lath, building paper, or wood framing to rebuild; the block itself is the substrate. Small crack repair and patching around a single penetration typically costs less than a full wall section; widespread delamination or resurfacing costs more.
This is also common damage to have. Stucco is not a niche finish here: the National Association of Home Builders reports it remained the top exterior wall material in the Mountain division, which includes Arizona, on 48% of new single-family homes started in 2024. Plenty of local contractors repair it, which means you can afford to be picky about who you hire.
How to vet the contractor and confirm their methods for spotting moisture in stucco
If you have been burned before, judge the company by its process, not its website. A legitimate stucco repair outfit in Scottsdale, AZ will do most of the following before asking for money:
- Inspect in person, including tap-testing beyond the visible damage
- Identify the water source, not just the symptom
- Put the scope in writing: what gets removed, what gets rebuilt, and how texture and color will be matched
- Explain the moisture fix, such as backer rod and sealant on moving cracks or regrading drainage at the base
- Provide an itemized invoice you can hand to your realtor for disclosure paperwork
Walk away from cash-only offers with no written scope, quotes delivered without anyone touching the wall, and prices that undercut every other bid by half. On block walls, the cheap quote is usually cheap because it skips the demolition of failed material, and that is the part that determines whether the repair holds.
The bottom line for Scottsdale block walls
Water damage inside stucco on a block wall announces itself quietly: hollow sounds, white crust, soft spots, stair-step cracks, and damp patches that outlast the rain. Any one of these is worth a closer look; two or more in the same area means water has an established path into the wall. Find the source, remove the failed material, repair with the crack backed and sealed correctly, and match the texture and color so the fix disappears. Done in that order, the repair holds, the inspection passes, and you do not pay for the same wall twice.
If you need stucco repair, Scottsdale Stucco Repair can help.
Prefer to talk it through? Call (480) 637-3464 — a quick call is usually the fastest way to get a straight answer for your situation.