Stucco Hole Repair on Block Walls: Patch It or Fix the Substrate First?
A hole in a stucco block wall is either a surface problem or a substrate problem, and the repair only holds if you know which one you have. Get that call wrong and the patch fails inside a year. This guide walks through the decision between patch vs substrate repair on block step by step, from diagnosing what caused the hole to deciding whether a patch is enough or the block underneath needs work first. It applies to perimeter walls, additions, and masonry fireplaces, which is where most Scottsdale block-wall damage shows up.
That matters here more than in most markets. According to the National Association of Home Builders, stucco was the exterior wall material on 48% of new single-family homes started in the Mountain division in 2024, which includes Arizona. Block walls with stucco skins are everywhere in Scottsdale, and so are bad patches on them.
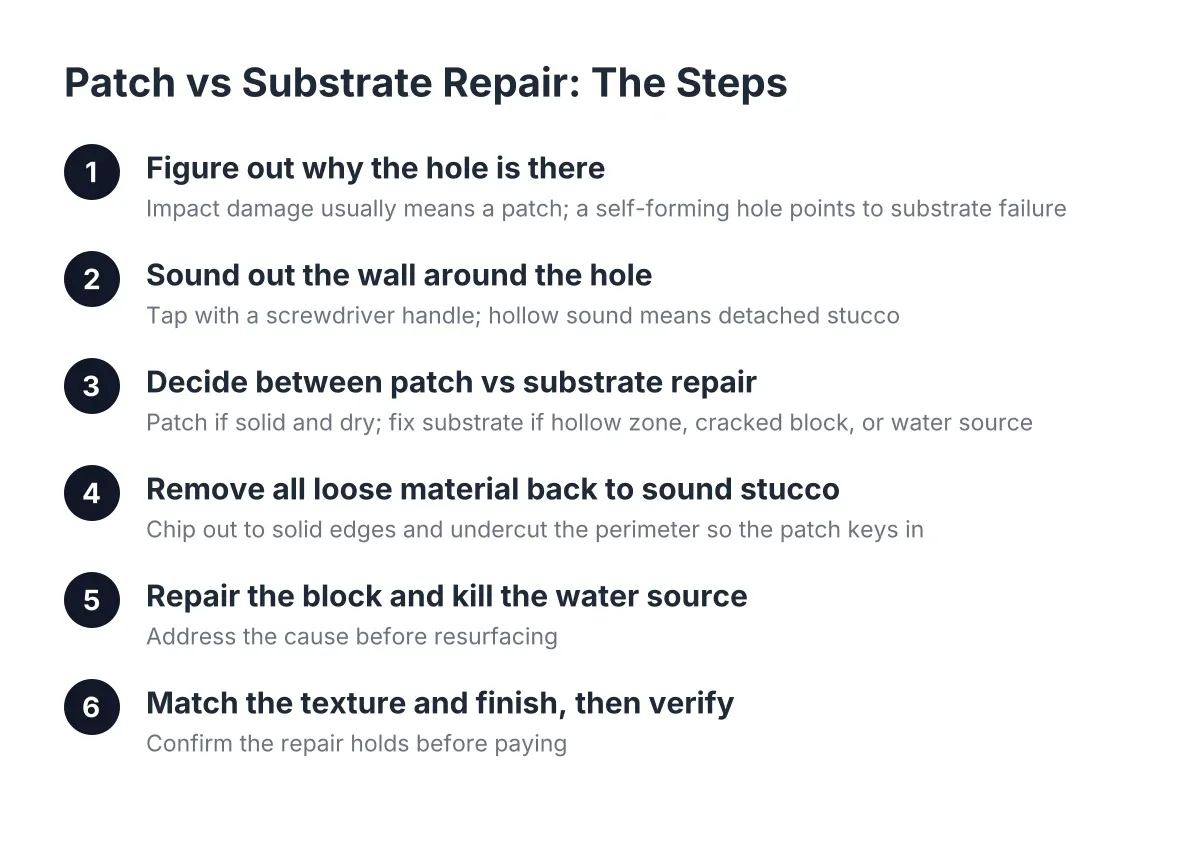
Step 1: Figure Out Why the Hole Is There
Before you mix anything, answer one question: did something hit the wall, or did the wall fail from within? A hole from a trailer hitch, a weed trimmer, or a removed anchor bolt is impact damage. The block behind it is usually fine, and a straightforward patch works.
However, a hole that appeared on its own, or that grew from a crack, points to a deeper cause. Common substrate problems on block walls include:
- Water wicking up through the block from poor drainage or irrigation spray, pushing the stucco off from behind
- A failed bond between the stucco and the block, often from a skipped bonding agent on the original job
- Cracked or shifting block from settling, tree roots, or vehicle vibration near the wall
- Rusting steel in the wall, such as gate hardware or rebar, expanding and blowing out the face
If the edges of the hole are soft, stained, or crumbly, or the surrounding stucco flakes off with light pressure, you are not looking at a patch job yet. You are looking at a substrate repair with a patch at the end of it.
How Substrate and Patch Repairs Differ on Block vs. Framed Walls
Stucco hole repair on block differs from framed-wall repair in one key way: there is no building paper or lath behind the stucco, because the cement bonds directly to the masonry. That makes the bond itself the whole system. If the bond failed, patching the hole without restoring the bond just schedules the next failure.
On a framed house wall, a hole repair involves paper, mesh, and three coats. On block, the repair is simpler in materials but less forgiving on prep. The block surface must be sound, clean, and properly prepared, or the new cement will not grab.
Step 2: Sound Out the Wall Around the Hole
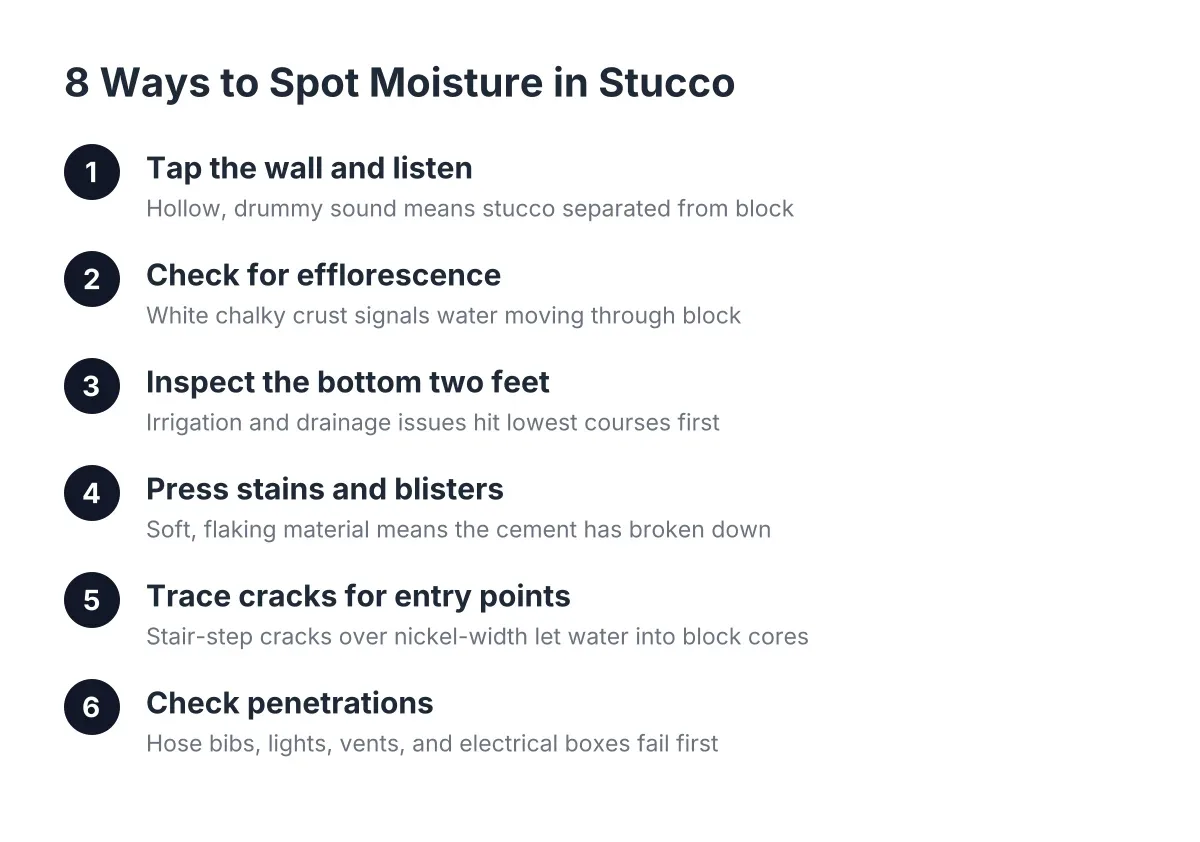
Tap the stucco with a screwdriver handle in a grid pattern, working outward from the hole in every direction. Solid stucco sounds sharp and dense. Detached stucco sounds hollow, like knocking on a door. Mark the hollow zone with chalk.
This step decides the size of the repair, and skipping it is the number one reason patches on block walls fail. A hollow sound means the stucco has let go of the block, often because a bonding agent was never used. Patching only the visible hole leaves detached material around it that will crack loose and take your new patch with it.
In addition, test the existing surface with firm finger pressure. A previous patch that dents or punctures under light pressure was mixed or applied wrong. Break it out entirely rather than skim over it; a weak patch under a new patch is two failures stacked together.
Step 3: Decide Between Patch vs Substrate Repair
Here is the decision line in plain terms. Patch when the hole came from impact, the surrounding stucco sounds solid, the block behind it is intact, and there is no active water source. Fix the substrate first when any of these are true:
- The hollow zone extends more than a few inches past the hole in any direction
- The block itself is cracked through, spalling, or shifting
- The wall stays damp, shows efflorescence (white mineral streaks), or sits in a sprinkler pattern
- The hole sits at a corner or top course where sections of block have loosened
- Rusted metal is visible inside the hole
For example, suppose a landlord in Scottsdale gets an HOA letter about a fist-sized hole in a rental's perimeter block wall. If a moving truck clipped it last month, that is a patch, likely a few hundred dollars. If it opened up over a summer next to a drip line that has soaked the base of the wall for years, the block may be saturated and the bond gone across several feet. In that scenario the irrigation gets moved, the wall dries, the loose stucco comes off, and only then does patching make sense. For scale on the broader category, Fixr.com puts the national average cost to repair stucco at $900 to $3,000, averaging about $1,700 for a buckled 10×10-foot section of three-coat stucco. Block-wall patches often run below that range because the assembly is simpler, but substrate repairs push toward it.
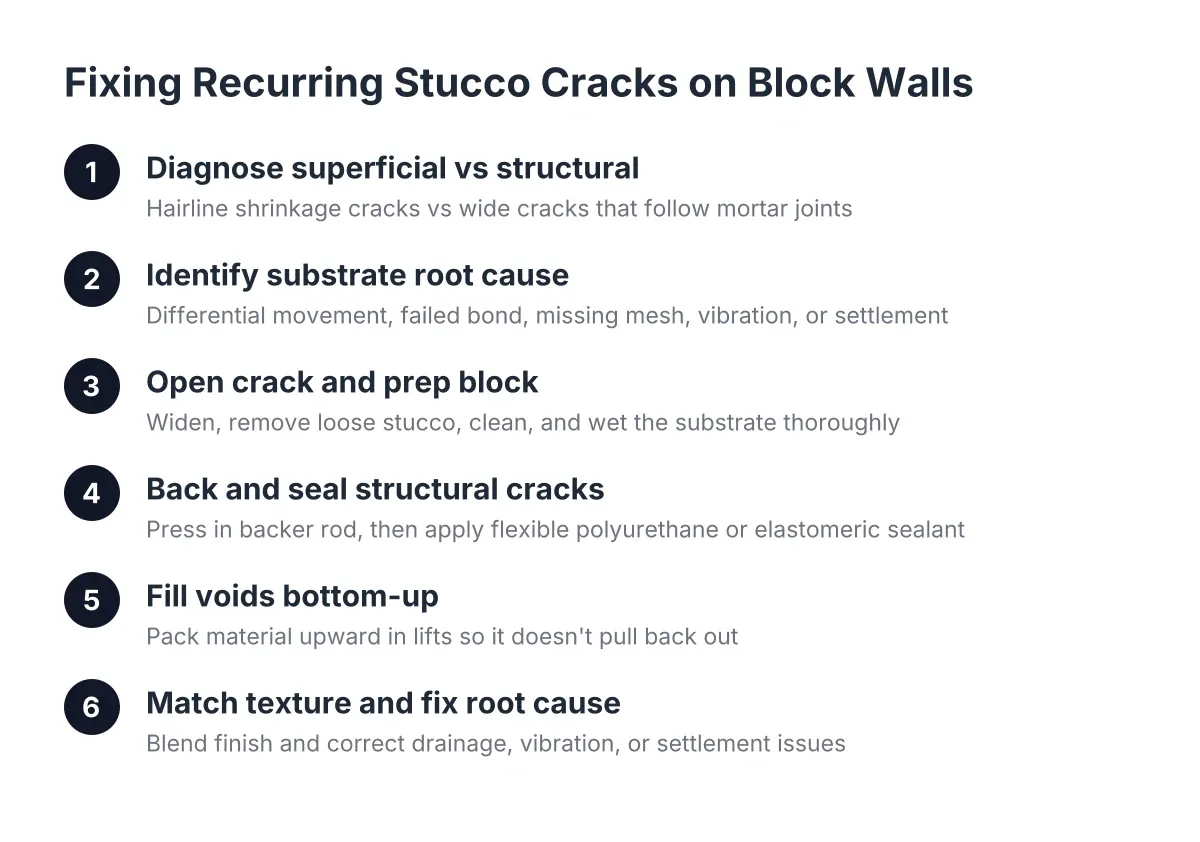
One reassuring note: a hairline corner crack where softer stucco meets a harder concrete footing is usually not structural. The two materials expand and contract at different rates, and the joint between them shows it. That is a caulk-and-monitor situation, not a rebuild.
Step 4: Remove All Loose Material Back to Sound Stucco
Chip out everything inside your chalk line with a hammer and cold chisel, working from the hole outward until every edge sounds solid and holds firm under the chisel. Cut the perimeter edges clean and slightly undercut so the patch keys in, rather than feathering to a thin edge that will flake.
Do not shortcut this because the hole "isn't that big." The finished patch is only as strong as its weakest edge. On corner repairs, crews often drill through both faces of the block corner and tie wire through to reinforce the patched sections, because corners take the most abuse and shrink-cracking pulls hardest there.
Brush and rinse the exposed block. Loose dust and old paint film are bond killers on masonry.
Step 5: Repair the Block and Kill the Water Source
If the block is cracked through or spalled, this is where the structural work happens. Repoint failed mortar joints, replace broken block sections, and reset any loose top-course caps. A wall that moves will crack any stucco you put on it, so movement gets solved first.
Just as important, remove whatever caused the damage. Redirect sprinkler heads and drip emitters away from the wall base. Regrade soil that dams water against the block. Let a saturated wall dry fully before coating it; sealing moisture inside the block guarantees the patch pops later.
This is also the honest limit of a DIY job. A leaning wall, a stair-step crack running through multiple courses of block, or a retaining wall holding back soil calls for a professional assessment before any cosmetic work. Cosmetic stucco over a moving retaining wall wastes money twice.
Executing the Stucco Patch and Substrate Work on the Block Surface
With sound, dry block exposed, the patch itself is direct. Apply a bonding agent to the block and the cut stucco edges; this is the step the original failed wall probably skipped. Then build the patch in lifts:
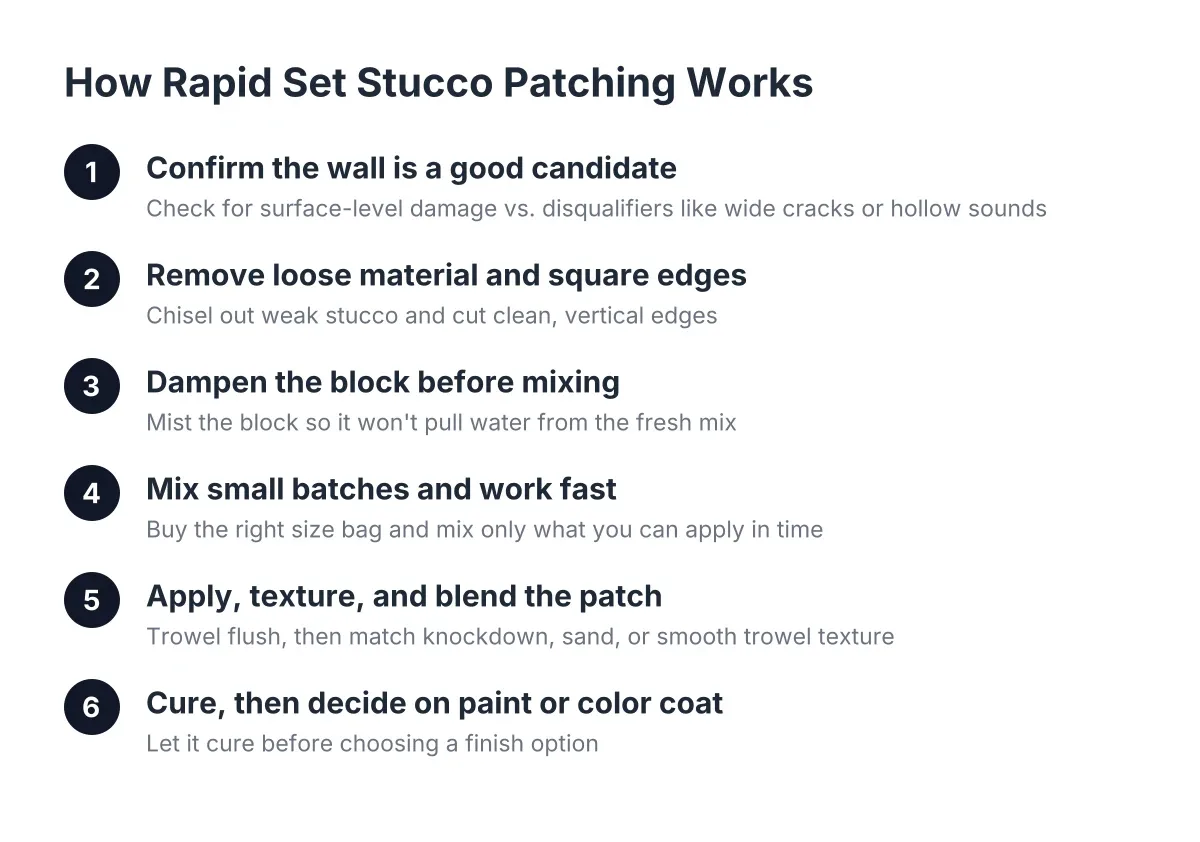
- Dampen the block so it does not suck water out of the mix
- Apply a scratch coat of stucco base, score it horizontally, and let it take up firm
- Follow with a brown coat brought flush to just below the surrounding surface
- Cure patiently between coats, misting in Scottsdale heat so the cement hydrates instead of flash-drying
For a patch spanning a void without solid backing behind every inch, use a stiffer, richer mix for added strength. Rapid-set products can compress the timeline on small holes, but they punish slow trowel work, so mix small batches.
Step 6: Match the Texture and Finish
The finish coat is what the HOA, the tenant, and the next buyer actually see. Match the existing texture technique, whether that is a sand float, lace, or smooth trowel finish, and blend the patch edges into the surrounding field rather than stopping at a hard line. A patch that reads as a rectangle from the street usually means the finisher did not match the original technique, and it invites the question of what else was done halfway.
Color matching on painted walls is simpler: prime the cured patch and repaint the full wall section to a natural break. On integrally colored stucco, expect the patch to need a color-matched finish coat over a larger area to disappear.
Step 7: Verify the Repair Before You Pay for It
If you hired this out rather than doing it yourself, check the work the same way you diagnosed the wall. This is where Stucco On Block Walls repairs separate legitimate contractors from patch-and-run operators.
- Tap the cured patch and its perimeter; it should sound as solid as the surrounding wall
- Press firmly with a thumb; any give means the mix or method failed and the patch should be broken out and redone, not skimmed over
- Confirm the written scope covered what caused the hole, not just the hole itself
- Look at the patch from 15 feet in daylight; texture and sheen should blend, not announce themselves
A written scope matters here. A one-line quote that says "patch hole" tells you nothing about whether loose material was removed, a bonding agent was used, or the water source was addressed. Ask the contractor to spell out those steps before work starts. Anyone doing this correctly will not hesitate to put them on paper.
The Short Version
Impact hole, solid surrounding stucco, dry block: patch it with proper prep and a bonding agent, and it will outlast the paint. Hollow zones, wet block, or cracked masonry: fix the substrate and the water first, or budget to do the whole repair twice. That single distinction is what most quick guides on block-wall patching never make, and it is the difference between a repair that holds through the 2026 monsoon season and one that does not.
If you need stucco repair, Scottsdale Stucco Repair can help.
Prefer to talk it through? Call (480) 637-3464 — a quick call is usually the fastest way to get a straight answer for your situation.