What a Stucco Wall Assessment Involves: Step-by-Step Inspection Guide
If you have a crack that keeps growing, a hole from a ladder, or a wall that stains after every storm, you need to know what you are dealing with before anyone quotes a repair. A proper stucco wall assessment involves more than eyeballing the crack. It means checking thickness, layers, sound, moisture, and what sits behind the surface. This guide walks you through the same checks a stucco contractor runs, in order, so you can size up your wall before the first phone call. Learning the stucco inspection steps used by professionals gives you the knowledge to evaluate damage systematically. Stucco is the dominant siding in this region; the National Association of Home Builders reports it remained the top exterior wall material in the Mountain division at 48% of new single-family homes started in 2024. In Scottsdale, knowing how your specific wall was built is the difference between a clean patch and a repair that pops out in a year.
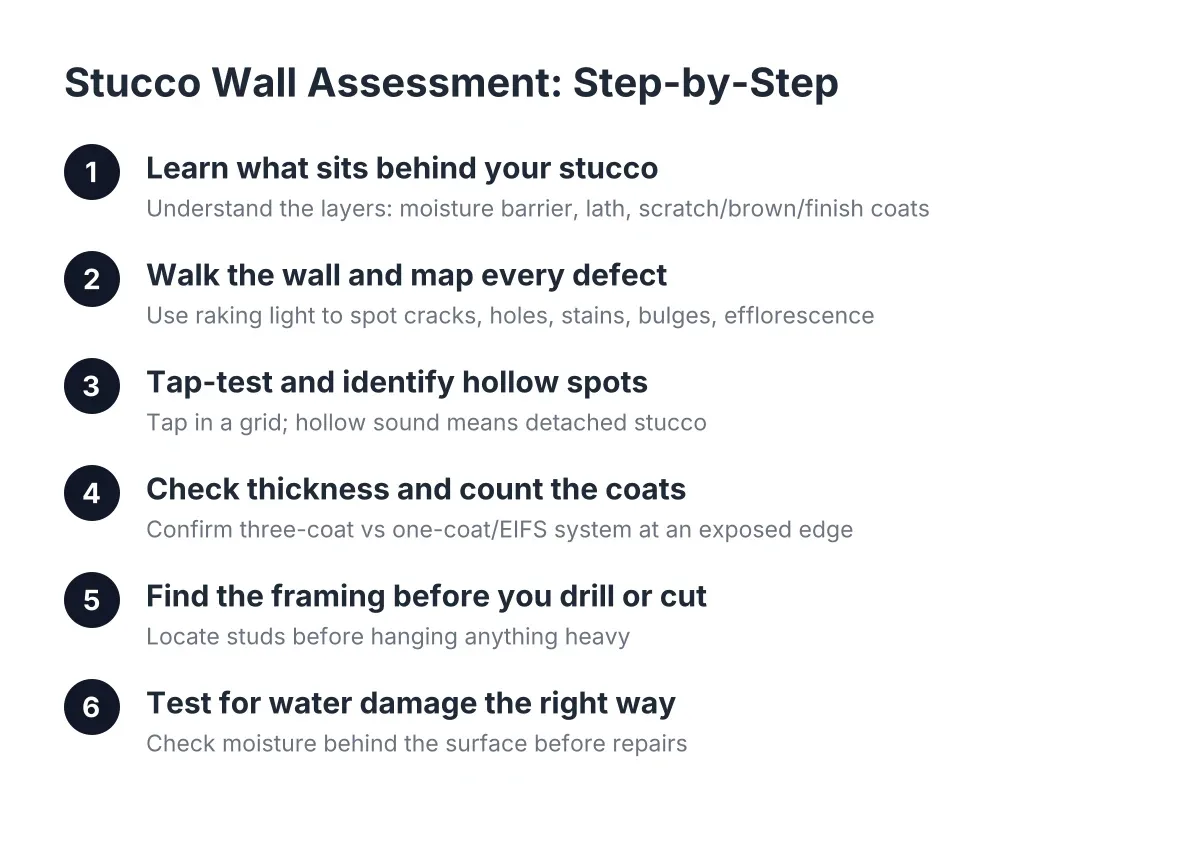
Step 1: Learn What Sits Behind Your Stucco
Before you tap, drill, or measure anything, understand the sandwich you are inspecting. A traditional stucco wall is built in layers over the framing. First comes a moisture barrier, usually tar paper, stapled over the sheathing. Next, metal lath for stucco, or in older homes chicken wire, is fastened over that barrier so the cement has something to grip. The edges get trimmed with expansion and contraction channel to control cracking.
Then the stucco itself goes on in three coats. The scratch coat is thin and gets raked with grooves so the next layer bonds. The brown coat builds the thickness and flattens the wall. Additionally, the finish coat carries the color and texture, whether that is a knockdown dash, a sand finish, or a smooth trowel.
Why does this matter for your assessment? Because damage behaves differently at each layer. A hairline crack in the finish coat is cosmetic. A crack that runs through the brown coat and lets water reach the tar paper is a water damage problem waiting for the next monsoon. Every check that follows is really asking one question: how deep does the problem go?
Step 2: Walk the Wall and Map Every Defect
Pick a time in the morning or late afternoon when raking light hits the wall at an angle. Low-angle light exposes bulges, hollows, and hairline cracks that disappear at noon. Walk the full wall, not just the spot that caught your eye, and mark or photograph everything you find.
Log each of these separately:
- Cracks: note the width (hairline, credit card, or wider), the direction (diagonal cracks off window corners behave differently than long horizontal ones), and whether the crack has widened since last summer.
- Holes and impact damage: measure the size and check whether you can see lath or paper inside.
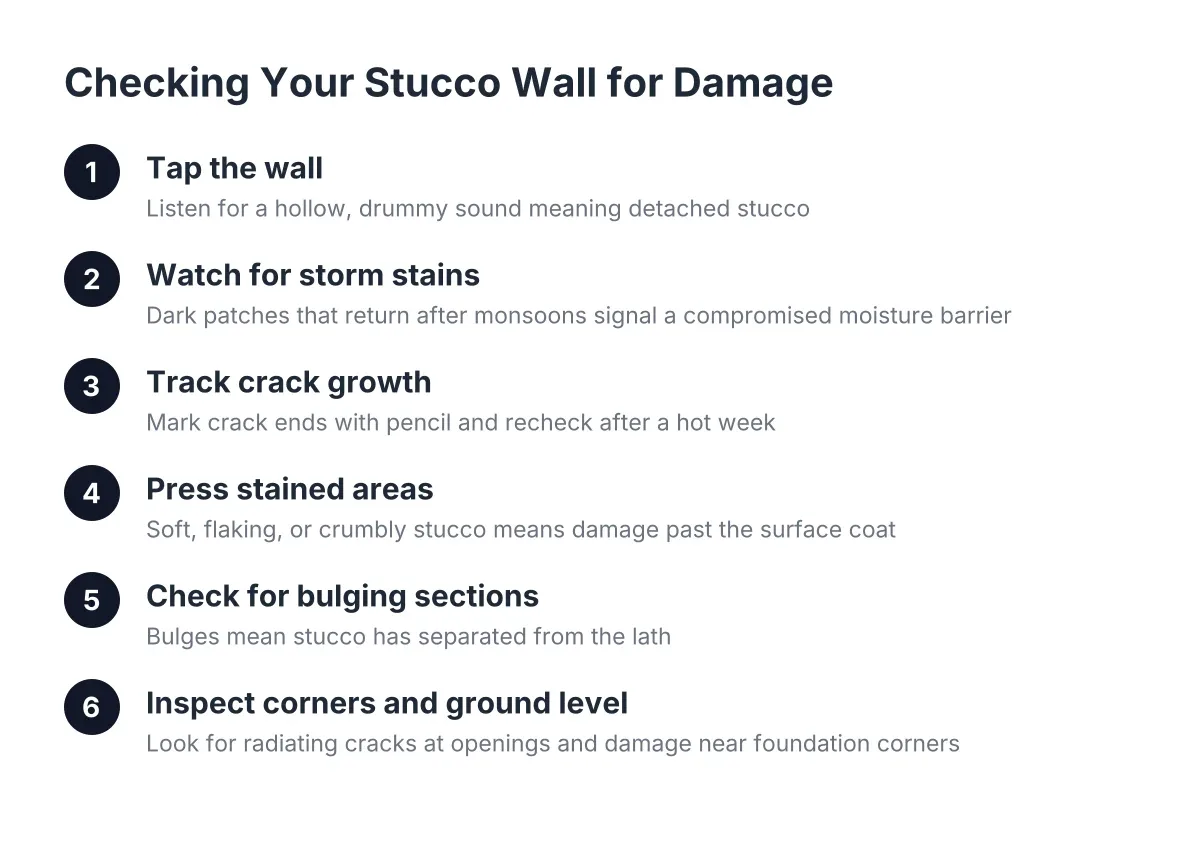
- Stains: rust-colored streaks often mean corroding lath or fasteners; dark blotches below windows or at the base of the wall point to water getting behind the surface.
- Bulges or soft spots: gently press suspect areas; stucco should never flex.
- Efflorescence: white chalky deposits mean moisture is moving through the wall and carrying salts with it.
A crack by a window that gets longer every summer is a classic Scottsdale pattern. Thermal movement works on the wall daily, and a crack that grows is telling you the underlying cause has not been fixed. Mark its endpoints with a pencil and date them. If the crack passes the pencil marks by fall, that is evidence for the repair conversation.
Step 3: Tap-Test and Identify Hollow Spots
The tap test is the single most useful check a homeowner can run, and it costs nothing. Use your knuckles or the handle of a screwdriver and tap the wall in a grid pattern, listening as you go. Well-bonded stucco sounds solid and dead. Detached stucco sounds hollow, like knocking on a drum.
Hollow sound means the stucco has separated from the layer beneath it, often because a bonding agent was skipped or moisture broke the bond. This is where practitioners focus first, because hollow areas fail in sheets, not inches. A wall that sounds hollow and stains after every storm almost always has water traveling behind the detached section.
Trace the hollow zone with painter's tape as you tap. The taped outline shows the true repair area, which is usually larger than the visible damage. This is also why two contractors quoting you without touching the wall should make you skeptical; nobody can price a repair honestly without knowing how far the detachment runs.
Step 4: Check the Thickness and Count the Coats
How thick is stucco supposed to be? Traditional three-coat stucco over lath typically runs about seven-eighths of an inch thick, while newer one-coat systems over foam are thinner, closer to three-eighths to half an inch. You can usually confirm which system you have at an existing hole, a pipe penetration, or an electrical box where the cross-section is exposed.
Look at the exposed edge and count the layers. Three-coat stucco shows distinct bands: a scratch coat against the lath, a thicker brown coat, and a thin colored finish coat. If you see foam board directly behind a thin cement layer, you have a one-coat or EIFS-style system, and the repair approach changes completely.
This step matters most if you are planning an addition or patio enclosure. New stucco has to match the existing system, not just the color. Say a homeowner in North Scottsdale is adding a bedroom onto a 1990s three-coat house; in that scenario, specifying the same thickness, lath, and finish texture is what keeps the addition from reading as a patch in afternoon light. Getting a stucco wall assessment done before the exterior finish stage gives the installer the exact target to hit.
Step 5: Find the Framing Before You Drill or Cut
If your assessment includes hanging something heavy or opening the wall, locate the studs first. A standard magnetic stud finder struggles through seven-eighths of an inch of cement, so use a stud finder for stucco applications, meaning a deep-scan electronic model or a strong rare-earth magnet. The magnet method works well on stucco because it finds the lath fasteners and screws, which land on studs at regular spacing.
However, know what is behind stucco walls before you trust any single reading. The metal lath itself can confuse electronic stud finders, since the whole wall reads as metal. Cross-check by finding two or three fastener lines and confirming they sit 16 or 24 inches apart. In addition, watch for pipes and wiring near kitchens, bathrooms, and exterior outlets before drilling anything deeper than the stucco itself.
Step 6: Test for Water Damage the Right Way
Moisture is the failure mode that turns a small repair into a wall rebuild. Run these checks after a rain, or a day or two later, when trapped moisture is still present:
- Press gently around stains and at the base of the wall. Soft or crumbly stucco means water has broken down the cement.
- Look at the weep screed, the perforated metal strip at the bottom of the wall. It must sit above grade and stay clear of soil, gravel, and stacked landscaping so water can drain out.
- Check every penetration: hose bibs, light fixtures, vents, and window corners. Failed sealant at these points is the most common water entry path.
- Inspect where the roof meets the wall and where parapet walls cap off. Parapets take sun and rain on both faces, but they assess and patch the same way as any other stucco surface.
A pin-type moisture meter gives you numbers if you want them, but soft stucco, rust stains, and efflorescence tell most of the story. If you suspect water has reached the sheathing or framing, stop here and bring in a professional. Invasive testing and structural evaluation are not DIY territory, and cutting exploratory holes in the wrong place creates new entry points for the next storm.
Step 7: Match What You Found to a Repair Path
Now translate your findings into a scope. This is where the assessment pays off, because you can talk to a contractor in specifics instead of guesses.
- Hairline cracks in the finish coat only: a candidate for stucco crack repair with elastomeric sealant, sometimes using backer rod, a closed-cell foam cord that creates a backing inside the crack before sealant goes on, according to Sika.
- A small hole with intact lath and paper: a straightforward stucco repair patch. Off-the-shelf products like Quikrete stucco repair mixes handle small cosmetic patches, though matching a knockdown or dash texture by hand is where most DIY patches give themselves away.
- Hollow zones from the tap test: the detached section needs to come off, with new lath and fresh coats. On a deteriorated corner, the sound approach is removing the stucco and repatching the full section corner to corner, so the repair does not telegraph.
- Soft, stained, or bulging areas: water damage stucco repair, which means opening the wall, fixing the moisture source, replacing damaged paper and lath, and rebuilding the coats.
One honest trade-off: color and texture matching on aged, sun-faded stucco is never guaranteed. When a patch cannot be blended invisibly, the standard fallback is painting the entire wall section so everything reads uniform. On a wall with heavy discoloration, removing a small sample piece for color matching before choosing paint is the reliable route.
For budgeting context, Fixr.com puts the national average cost to repair stucco at $900 to $3,000, averaging about $1,700 for a buckled three-coat section in a 10×10-foot area. Your assessment notes, including crack widths, taped hollow zones, photos, and coat counts, are what let a contractor land a real number instead of a guess.
What a Professional Assessment Involves Beyond These Steps
A professional stucco inspection covers everything above plus the calls a homeowner cannot safely make. That includes probing suspect areas, evaluating lath condition and fastening, confirming the moisture barrier is intact, and judging whether damage has reached sheathing or framing. A contractor will also identify why the wall failed, whether that is a missing bonding agent, blocked weep screed, thermal movement, or a plumbing or roof leak, so the repair fixes the cause and not just the symptom.
As a homeowner, your job before that visit is documentation. Bring your crack map, your tap-test tape lines, your photos after rain, and what you learned about your wall's thickness and coat system. That preparation turns the site visit into a confirmation instead of a discovery, and it makes any quote you receive in 2026 far easier to compare against another. It also filters out anyone willing to price your exterior wall damage without ever putting a hand on the wall.
If you need stucco repair, Scottsdale Stucco Repair can help.
Prefer to talk it through? Call (480) 637-3464 — a quick call is usually the fastest way to get a straight answer for your situation.