
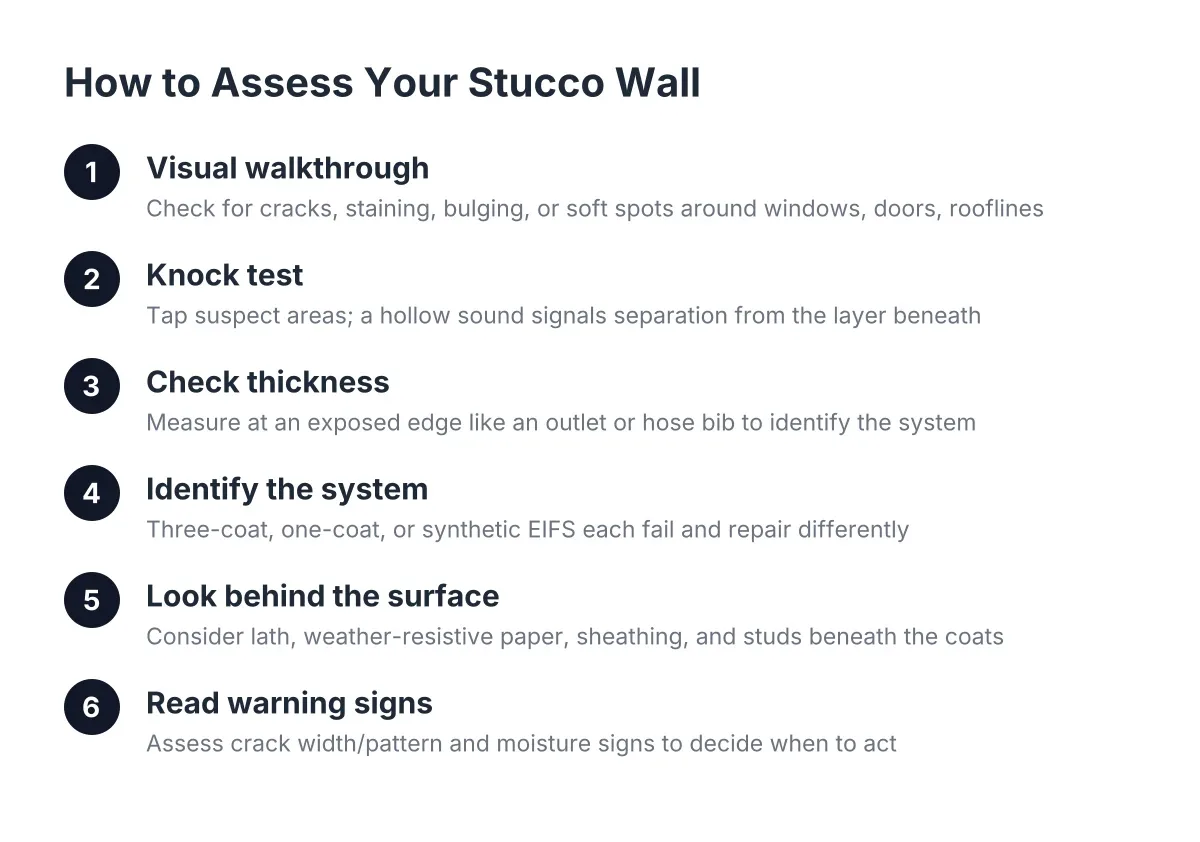
Stucco Wall Assessment — Complete Guide
Before you drill a hole for a TV mount, patch a crack, or accept a repair quote, you need to know what your stucco wall is actually made of. Stucco inspections start with questions most Scottsdale homeowners have never had to answer: how thick is the stucco, how many layers sit behind the surface, and what is hiding between the finish coat and your framing. This guide walks you through all of it, from thickness standards and the three-coat system to the warning signs that separate cosmetic cracks from real trouble. By the end, you will know how to assess your own walls and when to bring in a professional instead.
What You'll Find in This Guide
- Arizona Climate Impact on Stucco: FAQ for Assessing Weathered Walls
- DIY Stucco Wall Inspection: Check Your Walls Before You List in Scottsdale, AZ
- What a Stucco Wall Assessment Involves: Step-by-Step Inspection Guide
- Signs Your Stucco Needs an Inspection Before the Damage Gets Structural
- How Much Does Stucco Wall Assessment Cost?
- Stucco Wall Assessment Terms Explained: A Plain-English Glossary
- Stucco Wall Assessment Checklist: What to Inspect Before You Repair or Drill
How Thick Is Stucco and What Are the Layers Behind It?
Most Scottsdale homes use one of two stucco systems, each affecting drilling, repairs, and what your wall can hold. Traditional three-coat stucco builds in layers—scratch coat, brown coat, and finish coat over metal lath and weather barrier—totaling about seven-eighths of an inch thick. Newer homes often use a thinner one-coat system (three-eighths to half an inch) paired with rigid foam insulation underneath.
Why thickness matters: it determines what fasteners work, how the wall cracks, and proper repair methods. A three-coat wall resists impacts that would penetrate a thin one-coat shell. A screw anchoring solidly in seven-eighths of an inch may barely grip a thin layer over foam.
Estimate your wall's thickness without cutting into it. Check an existing penetration—hose bib, outlet, or light fixture—where exposed edges reveal the full stucco depth. Your home's age offers another clue: pre-1990s Scottsdale homes typically have three-coat systems, while newer builds often use one-coat over foam.
This knowledge matters beyond trivia. Stucco covers 48% of new single-family homes started in the Mountain division in 2024, according to the National Association of Home Builders. Nearly half your neighborhood faces these same questions and most guess wrong about what's behind the finish coat. Before drilling or patching, the stucco wall assessment checklist covers thickness standards for each system. For unfamiliar terms like lath, weep screed, or brown coat, the plain-English glossary explains them quickly.
What's Behind Stucco Walls: Finding Studs, Wires, and Moisture Barriers
Hanging anything heavy on a stucco wall raises an immediate problem: standard stud finders struggle through cement. The metal lath embedded in most stucco systems confuses magnetic and electronic sensors alike. Consequently, a stud finder that works perfectly on interior drywall may light up everywhere, or nowhere, on your exterior wall.
That does not mean you are stuck guessing. In practice, a few techniques work reliably. Deep-scan modes on newer stud finders can sometimes penetrate the full assembly. Alternatively, you can locate studs from the interior side of the same wall and transfer measurements outside. Exterior clues help too, since outlets, fixtures, and hose bibs almost always mount to framing. Once you find one stud, the rest usually follow at 16-inch intervals.
The Layers You Cannot See
Behind the cement itself, a full wall assembly includes metal or wire lath, one or two layers of a water-resistive barrier, sheathing, and then the wood framing. Each layer does a job. However, each layer is also a potential failure point. A torn moisture barrier lets monsoon rain reach the sheathing. Similarly, rusted lath telegraphs cracks to the surface in a distinctive grid or diagonal pattern.
This is why what looks like a surface problem often is not one. To put it simply, the crack you see is frequently a symptom of something happening two layers down. Water damage behind stucco can spread for months before any visible stain appears. With this in mind, treat unexplained staining, bulging, or a hollow sound when you tap the wall as signals worth investigating, not cosmetic quirks. The step-by-step inspection guide shows you how to run those tap tests and moisture checks yourself. Because drilling blind can nick wiring or puncture the moisture barrier, always confirm what sits behind your target spot before you make a hole you cannot easily undo.
Recognizing Damage: When Stucco Inspections Matter Most in Scottsdale
Arizona is hard on stucco in ways most national advice ignores. Summer surface temperatures swing 60 degrees or more between afternoon sun and overnight lows, and that thermal cycling works cracks open a little wider each season. Then monsoon storms drive rain sideways into openings that dry desert air hid all year. The Arizona climate FAQ digs into how these local conditions age your walls specifically.
So how do you tell normal desert weathering from active damage? Pattern and behavior matter more than the crack itself. Hairline cracks that stay stable for years are usually cosmetic shrinkage. In contrast, cracks that widen each summer, stair-step along block lines, or radiate from window corners point to movement or moisture. Staining that reappears after every storm signals water getting behind the finish coat. Likewise, a section that sounds hollow when tapped has likely delaminated from the layer beneath it. The warning signs guide walks through each symptom and what it typically means underneath.
When DIY Checks End and Professional Assessment Begins
You can handle a lot of this yourself. A careful walk around the house, a screwdriver-handle tap test, and photos of every crack cost you nothing but an hour. For sellers, that hour matters even more, since buyers' inspectors will find what you missed. The pre-listing inspection guide covers exactly what to check before photos go live.
However, some situations call for professional stucco inspections rather than another DIY pass. Suspected moisture behind the wall, cracks wider than a credit card edge, bulging sections, and any damage near the foundation all justify a trained set of eyes and proper moisture tools. Catching problems early also protects your budget. According to Fixr.com, stucco repair runs $900 to $3,000 nationally, averaging around $1,700 for a buckled 10×10-foot section of three-coat stucco. As a result, a modest assessment fee that catches delamination early can save you the difference between a patch and a replacement. The assessment cost guide breaks down what drives that pricing so no quote surprises you.
One more local note: get your timing right. Schedule stucco inspections in spring or fall when temperatures are moderate. Moisture readings taken right after a monsoon storm, or during peak summer heat, can mislead even good equipment.
Ready to Get Started?
If your walk-around turned up a crack that keeps growing, a hollow spot, or a stain that returns after every storm, do not wait for the next monsoon season to make it worse. We assess stucco walls across Scottsdale every week, and we can tell you exactly what you are dealing with and what it will take to fix. Reach out for a straightforward assessment, and get answers from a local team that works on stucco and nothing else.