DIY Stucco Hole Repair: Where Patch Kits Work and Where They Fail
If you have a hole in your exterior wall from a removed satellite dish, a wayward ladder, or a pack rat that decided your parapet looked inviting, you want it fixed fast and you want it invisible. DIY stucco hole repair with a patch kit can deliver that for small damage, though understanding stucco patch kit limits is essential before you start. However, patch kits fail in predictable ways, and a failed patch is often more visible than the original hole. This guide walks you through the repair step by step, shows you where the common failure points are, and tells you what a finished patch should look like so you can judge your own work, or a contractor's, honestly.
One quick benchmark before you start. According to Fixr.com, the national average cost to repair stucco runs $900 to $3,000, averaging around $1,700 for repairing buckled three-coat stucco in a 10×10-foot area. A single small hole costs far less than that, which is exactly why homeowners reach for a patch kit first. That instinct is fine. The trick is knowing when it applies.
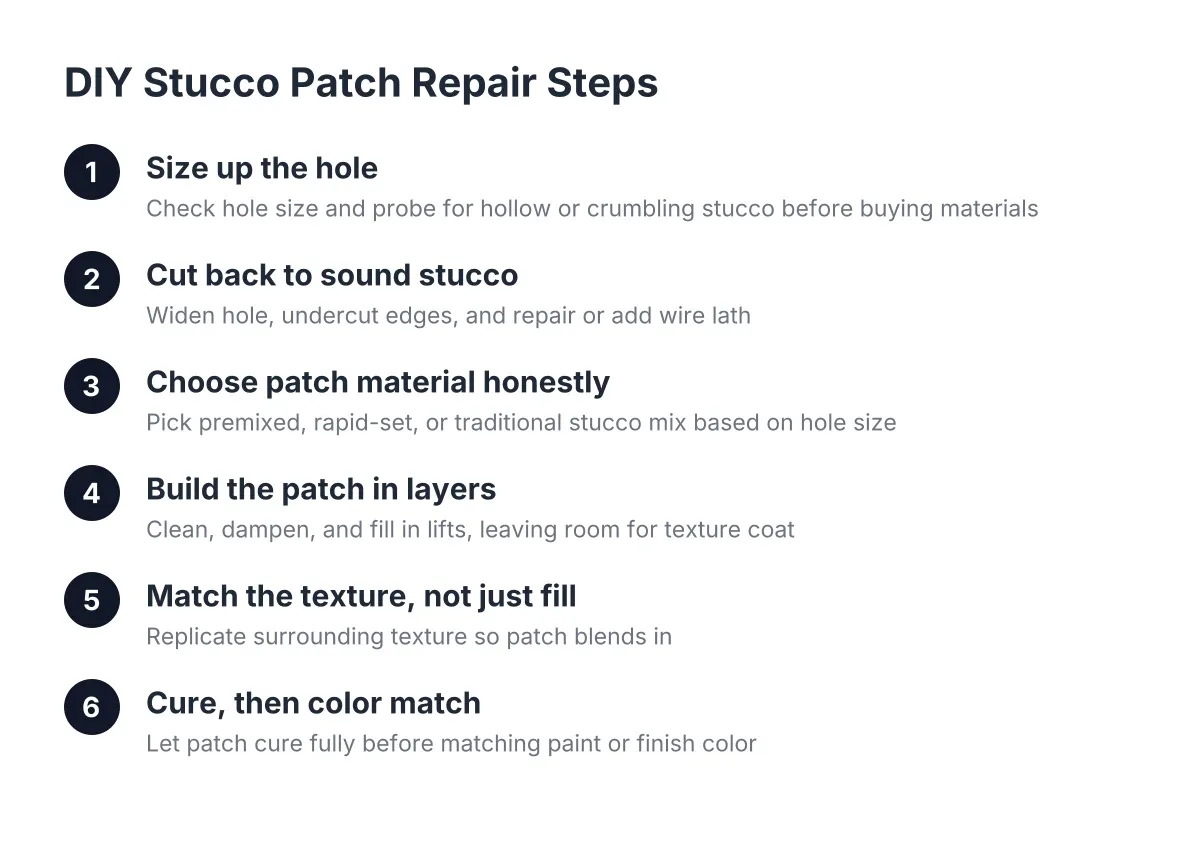
Step 1: Size Up the Hole Before You Buy Anything
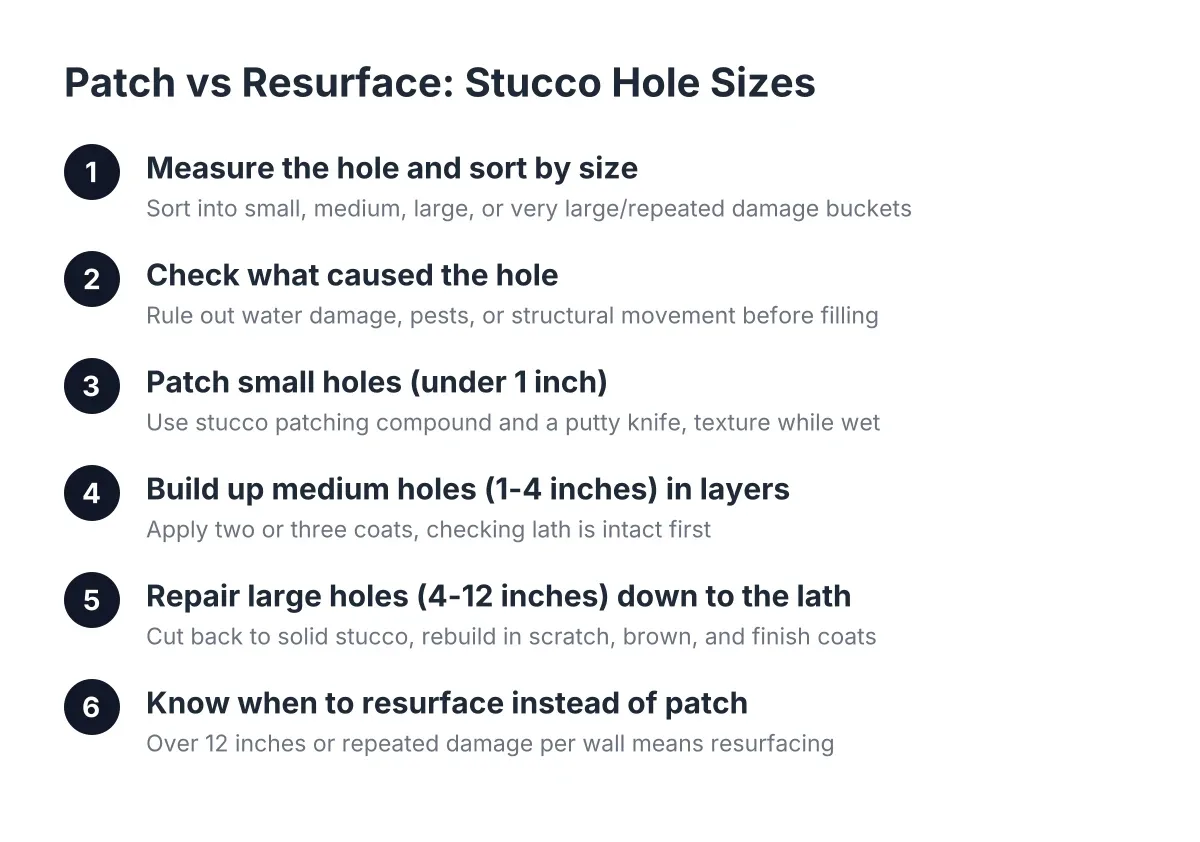
Measure the hole and probe around it before you spend money at the hardware store. Patch kits are built for holes up to about the size of your fist where the wire lath and building paper behind the stucco are still intact. Understanding stucco patch kit limits helps you recognize when the damage exceeds what a kit can handle. Anything larger, or anything with damaged lath, needs a different repair.
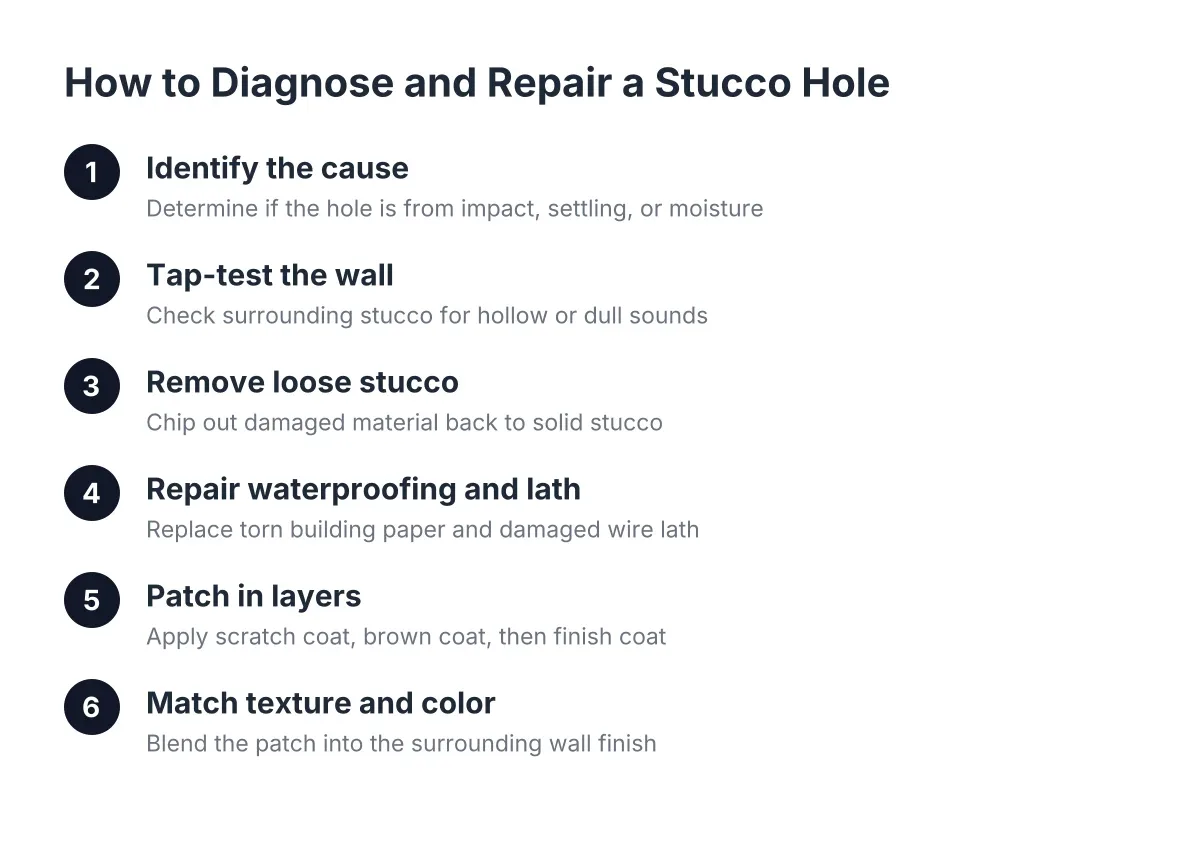
Press on the stucco around the hole with your fingers. Solid stucco feels rigid. If the surrounding area flexes, sounds hollow when you knock on it, or crumbles at the edges, the damage extends beyond what you can see. A weak, hollow patch that gives under light finger pressure has already failed underneath; the fix is to break it out and redo it, not to skim more material over the top.
Also figure out what caused the hole. A doorknob-sized impact hole is a one-time event. A hole chewed by pack rats or woodpeckers, or one that keeps reopening near a downspout, has an underlying cause. Patch it without fixing the cause and you will be patching it again next year. Animal damage stucco repair in particular tends to recur unless the entry point is sealed with something the animal cannot chew through.
Step 2: Cut Back to Sound Stucco
Widen the hole slightly rather than filling it as-is. This feels backwards, but it is the single step that separates patches that last from patches that pop out. Use a cold chisel and hammer, or an angle grinder with a masonry blade, to remove all loose and cracked stucco around the hole until you hit material that is solidly bonded.
Undercut the edges so the opening is slightly wider at the back than at the face. This locks the new material in mechanically. A patch applied over a hole with flared, crumbling edges is failure point number one; the new material bonds to loose old material, and the whole plug works free within a season or two of Scottsdale's heat cycling.
Check the wire lath and paper behind the opening. If the lath is rusted through or torn, cut a piece of new galvanized lath, overlap the old lath by an inch or two on all sides, and tie it in with wire. Skipping this is failure point number two. Stucco without lath behind it is just a cement biscuit waiting to crack.
Step 3: Choose Your Patch Material Honestly
Pick your material based on hole size and your working speed, not on what the packaging promises. You have three realistic options for a diy stucco hole repair:
- Premixed stucco patch in a tub. Easiest to work with and forgiving on timing. Best for shallow holes under a half inch deep. It shrinks more than cementitious mixes, so deep holes need multiple thin applications.
- Rapid-set stucco patch (dry mix). Cures fast and builds thickness in one pass. Some rapid-set products bond to existing stucco without a bonding primer, which saves a step. The trade-off is working time; fast-setting repair compounds give you only a few minutes before they stiffen, so mix small batches.
- Traditional stucco base and finish mix. The right answer for holes bigger than your fist and for anyone who wants the repair to age exactly like the wall around it. It requires curing time between coats and more skill with a trowel.
Failure point number three lives here: using a lightweight spackle-type filler or caulk meant for interior drywall. It will not survive an exterior wall in Arizona sun. If the label does not say exterior stucco or masonry, put it back.
For a fist-sized hole, expect to spend an illustrative $30 to $80 on materials: patch compound, a small piece of lath, a margin trowel, and a rubber float if you do not own one. Everything on that list sits on the shelf at any general hardware store.
Understanding What Stucco Patch Kit Limits Really Mean
Clean the opening, dampen it, and build the patch in layers rather than one heavy pass. Brush out all dust and loose grit; dust is a bond breaker. Then mist the edges of the old stucco with water so it does not suck the moisture out of your patch mix. Dry old stucco stealing water from fresh patch material is failure point number four, and it shows up later as a cracked ring around the repair.
Load your patch material onto a hawk or a scrap of plywood, then press the first layer firmly into the opening with a steel trowel or margin trowel. Work it into the lath so it keys behind the wire. Fill deep holes in two or three lifts, letting each stiffen before the next. Leave the final layer about an eighth of an inch shy of the wall surface; that last eighth inch is where your texture coat goes.
Follow the product's cure instructions between coats. Rushing the layers is how you end up with a patch that sounds hollow when you knock on it six months later.
Step 5: Match the Texture, Not Just the Fill
Texture matching is where most DIY stucco hole repairs get exposed. A structurally sound patch with the wrong texture reads as a scar from the sidewalk, and if you are doing this before selling the house, a buyer's inspector will see it too. In fact, a mismatched texture on an older repair usually means whoever did it never identified the original finish technique, and you do not want to repeat that mistake.
First, identify your existing finish. Most Scottsdale homes carry one of a few common textures: sand or float finish, lace (skip trowel), dash, or smooth (santa barbara style). Stand back ten feet and study how the original wall was worked, then practice the motion on a scrap of plywood before touching the patch.
- Sand or float finish: apply the final coat, let it firm up, then work it in circles with a rubber float.
- Lace finish: trowel on a thin, uneven splatter coat, wait until it loses its wet sheen, then knock down the high points lightly with a clean trowel.
- Dash finish: flick material at the patch with a brush or dash tool and leave it alone. Do not trowel it.
- Smooth finish: the hardest to match; multiple tight trowel passes, and honestly the one where a pro earns their fee.
Feather the texture coat an inch or two past the patch edges onto the surrounding wall so there is no hard border. A crisp rectangle of new texture is failure point number five, and it is the one everyone can see from the street.
Step 6: Cure, Then Color Match the Right Way
Let the patch cure fully before painting, typically several days to a week depending on the product and the weather. Painting too soon traps moisture and causes the paint to peel off the patch in a perfect outline of your repair.
Color is the last trap. New patch material dries lighter or grayer than weathered stucco, so a patch left unpainted will telegraph forever. If your walls are painted, repaint the full wall section from corner to corner or break line to break line, not just a splotch over the patch. Touch-up paint on a sun-faded Scottsdale wall never matches. If your stucco has integral color rather than paint, matching is a genuine skill; a fog coat or color coat blended to the aged pigment is usually contractor territory.
This is also the honest limitation of any diy stucco hole repair: you can get the fill and the strength right and still lose on color. If the wall faces the street and the house is going on the market, weigh the cost of professional stucco hole repair with color and texture matching against the risk of a visible blemish in every listing photo.
When a Patch Kit Is the Wrong Tool Entirely
A patch kit stops being the answer when the hole is a symptom rather than the whole problem. Call in a pro instead of patching when you see any of these:
- Staining, softness, or a musty smell around the hole, which points to water damage behind the stucco, not just at the surface
- Multiple holes or widespread cracking across a wall, especially with bulging
- Damage at a corner, where the correct fix often means removing stucco and repatching the full section from break to break, with reinforcement tied through the corner
- Torn building paper you cannot access or replace through the opening
- A hole created by pest entry that keeps reopening
Here is a hypothetical worth thinking through if you are the homeowner budgeting a bigger exterior project. Say you are planning a full re-stucco or a room addition next year and you find three fist-sized holes today. Suppose you patch them yourself for $100 in materials; that is money well spent if the walls are otherwise sound. But if those holes sit in a wall that already shows map cracking and bulging, patching them buys you nothing, because that wall section is coming off anyway during the replacement. In that scenario, photograph the damage, get it into your full stucco job estimate as a line item, and spend your Saturday on something else. Stucco is not a niche concern here; the National Association of Home Builders reports stucco was the exterior wall material on 48% of new single-family homes started in the Mountain division in 2024, so every contractor bidding your project has priced this exact repair many times.
What a Finished Repair Should Look Like
Judge the patch, yours or anyone else's, by four checks. It should be flush with the surrounding wall with no bulge or dish. It should sound solid, not hollow, when you knock on it. The texture should continue the wall's pattern with no visible border. And after paint or color coat, you should not be able to find it from ten feet away.
If your DIY patch passes all four, you are done, and you saved yourself a service call. If it fails any one of them, break it out and redo it correctly rather than layering over it; surface fixes over a failed patch fail with it. Either way, you now know exactly what good looks like, which makes you a harder homeowner to shortchange when the bigger stucco work comes around.
If you need stucco repair, Scottsdale Stucco Repair can help.
Prefer to talk it through? Call (480) 637-3464 — a quick call is usually the fastest way to get a straight answer for your situation.