Stucco Hole Repair Sizes: When to Patch a Hole and When to Resurface
Not every hole in a stucco wall calls for the same fix. Understanding stucco hole repair sizes is the fastest way to figure out whether you need to patch versus resurface stucco, choosing between a small patch, a full-section repair, or resurfacing across a larger area. This guide walks through the decision step by step, so you know what a clean, blemish-free repair should look like before you hire anyone, and so you can tell when a cheap patch is actually the wrong move.
That distinction matters in Scottsdale more than most places. Stucco remained the most-used exterior wall material in the Mountain division, which includes Arizona, at 48% of new single-family homes started in 2024, according to the National Association of Home Builders. When almost half the homes around you wear stucco, a bad patch stands out from the street.
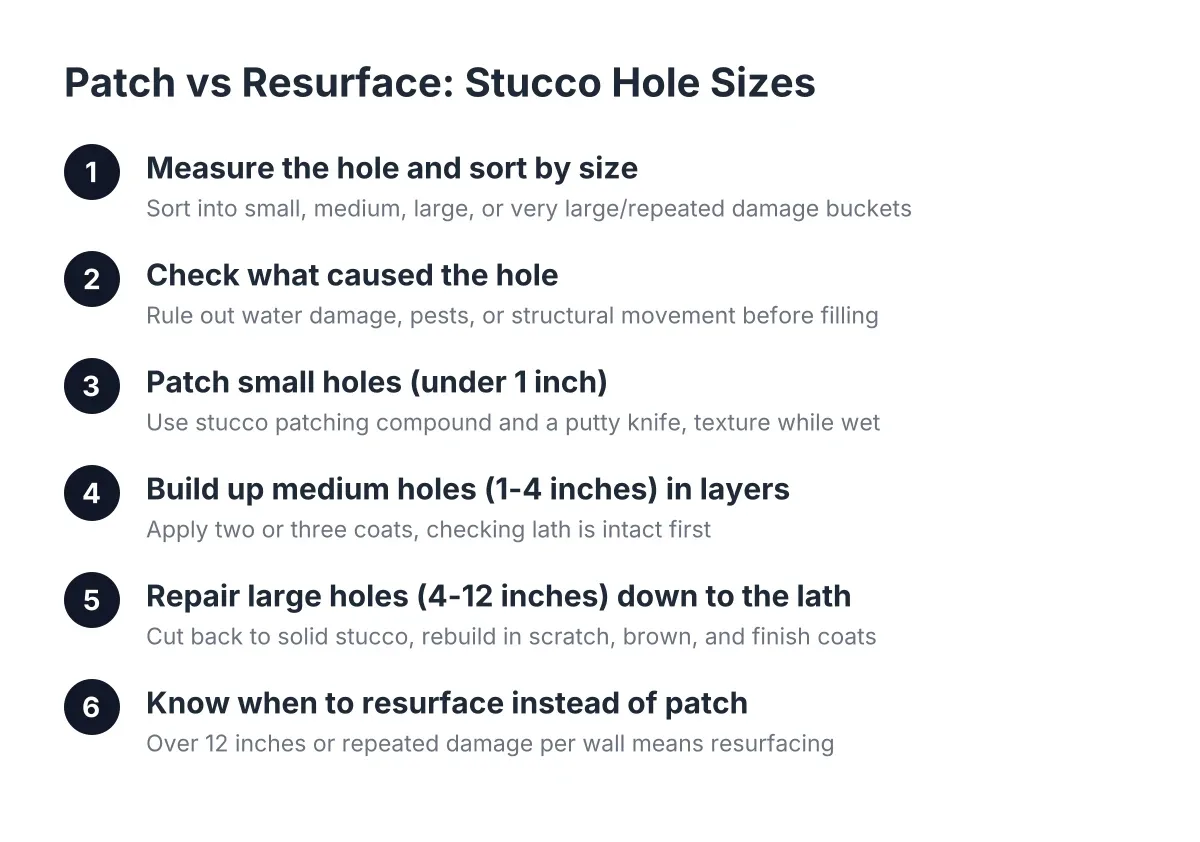
Step 1: Measure the Hole and Sort It by Size
Start by measuring the damage, because stucco hole repair sizes drive everything that follows: the materials, the method, and whether a patch will blend or show. Grab a tape measure and check the widest point of the hole, then press gently around the edges to see how far the loose material extends.
Sort what you find into one of four buckets:
- Small holes, under 1 inch: Nail holes, anchor holes from a removed light fixture, satellite dish mounts, or woodpecker damage. These take a stucco patching compound and a putty knife.
- Medium holes, 1 to 4 inches: Impact damage from a ladder, a thrown rock, or a door handle punching through a wall corner. These usually need patch material built up in layers.
- Large holes, 4 to 12 inches: A vehicle bump on a perimeter wall, pest entry points chewed wide, or a section that crumbled when a fixture was pulled. These require cutting back to sound stucco and repairing the lath underneath.
- Very large or repeated damage, over 12 inches or multiple holes per wall: At this point you are past patching. This is where resurfacing or partial replacement enters the conversation.
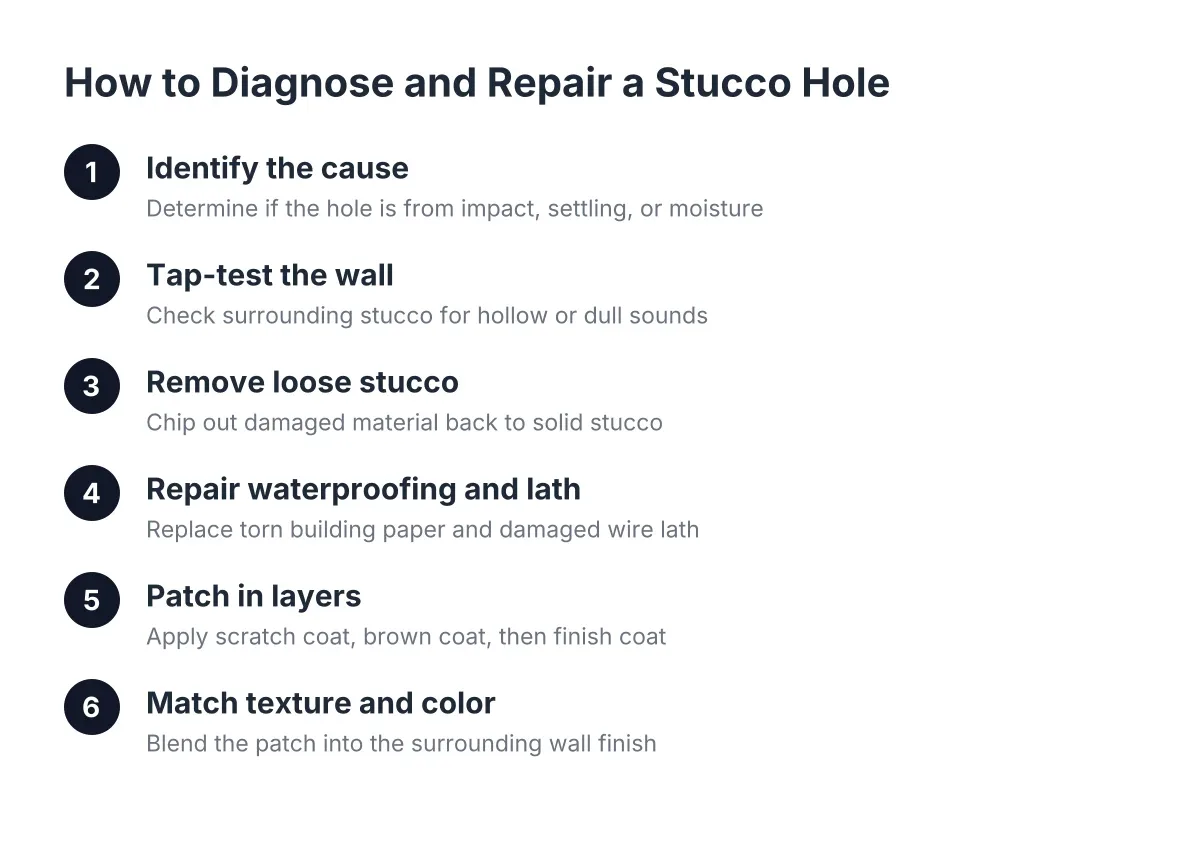
The hole you can see is not always the full repair. If the stucco sounds hollow when you knock several inches beyond the edge, the damaged area is bigger than the hole, and you should measure to where the wall sounds solid again.
Step 2: Check What Caused the Hole Before You Fill It
Before mixing anything, identify the cause. A patch over an unresolved problem fails, and you pay twice. Impact damage from a one-time accident is the easy case; fill it and move on. Other causes need more attention first.
Look for these warning signs:
- Water damage: Staining, soft or crumbly material around the hole, or a hole near a roofline, scupper, or window. Water damage stucco repair means fixing the moisture path first, not just the surface.
- Pest entry: Animal damage stucco repair only holds if the entry point is sealed and the animal is gone. Otherwise the same hole reopens in a month.
- Structural movement: A hole surrounded by radiating cracks suggests the wall is moving from vibration, settling, or poor drainage. Patch the hole, and the cracks return.
However, if you find soft, wet, or moldy material behind the stucco, stop and bring in a professional. Hidden water damage can extend well past what a surface repair covers, and opening the wall correctly matters more than filling it quickly.
Step 3: Patch Small Holes with Stucco Patching Compound
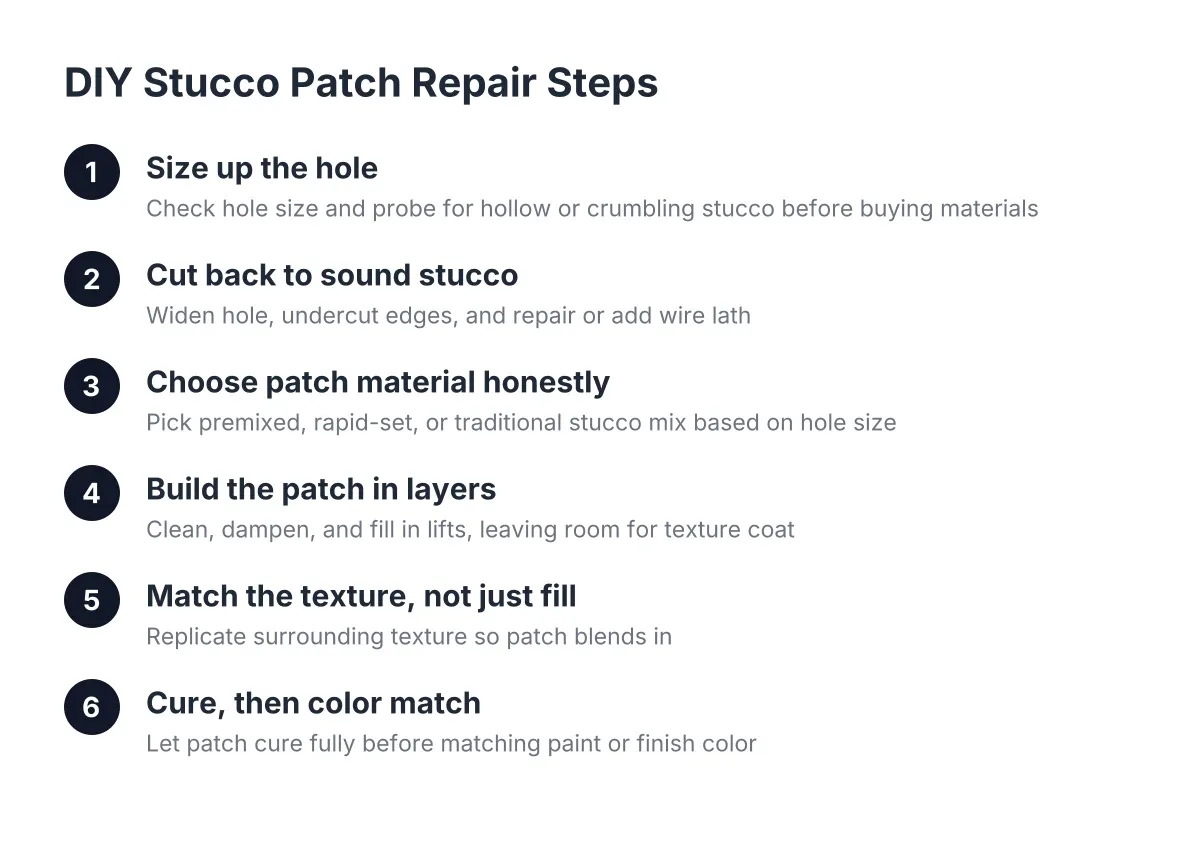
Holes under an inch are a genuine do-it-yourself fix. A tub of pre-mixed stucco patching compound, sometimes sold as a stucco hole repair kit, is available at any general hardware store, and the process takes under an hour of active work.
Follow this sequence:
- Clear out loose debris and dust with a brush or compressed air.
- Dampen the hole lightly so the dry old stucco does not pull moisture out of the patch.
- Press the compound in firmly with a putty knife, slightly overfilling.
- Texture the surface while wet to mimic the surrounding finish, using a sponge, brush, or trowel dab.
- Let it cure per the product label, then paint to match.
Texture is where most small patches go wrong, not the fill itself. A flat, smooth spot on a textured wall reads as a repair from twenty feet away. Practice the texture motion on a piece of cardboard first. Rougher, flattened finishes are forgiving; smooth sand finishes show every flaw, and those often justify hiring the repair out even at a small size.
Step 4: Build Up Medium Holes in Layers
Holes from 1 to 4 inches need layered application, because a single thick pass of patch material shrinks, cracks, and sags. Chip back any loose edges to sound stucco first, then check that the wire lath behind the hole is intact. If the lath is torn or missing, cut a piece of new mesh, secure it, and proceed.
Apply the patch in two or three coats. The first coat fills most of the depth; scratch its surface while wet so the next coat grips. Let each coat set before the next. The final coat gets the texture treatment and sits flush with the wall, not proud of it.
This is also the size range where a poor patch becomes obvious later. A patch that sounds hollow or gives under light finger pressure means the material or method failed underneath, and the honest fix is breaking it out and redoing it, not skimming over the top.
Step 5: Repair Large Holes Down to the Lath
Large holes, roughly 4 to 12 inches, are structural repairs in miniature. The correct method is to cut the opening back to solid stucco, repair or replace the wire lath and any damaged paper behind it, then rebuild the wall in coats: scratch coat, brown coat, and finish coat.
One detail separates a repair that stays weathertight from one that leaks. When the opening is cut to size, the edges should leave the existing wire lath exposed and torn rather than sliced clean, because the new lath needs to tie into the old for a proper weatherproof lap. A perfectly clean grinder cut forces the repair to be opened wider, which adds cost.
Corners are their own case. Suppose a homeowner backs a trailer into the stucco corner of a garage in north Scottsdale and knocks out a fist-sized chunk. A quick corner patch with new corner mesh works and costs far less than rebuilding the wall section. Still, the technically correct repair for a badly deteriorated corner is removing the stucco and repatching the full section from corner to corner, so the finish plane stays true. That trade-off, quick patch versus full-section repair, is worth asking any contractor to explain in their bid.
Step 6: Know When to Resurface Instead of Patch Stucco
When should you resurface instead of patching stucco holes? Resurfacing makes sense once holes cross about 12 inches, appear repeatedly across the same wall, or sit in a field of widespread cracking and hollow spots. At that point, individual patches become a patchwork of slightly mismatched textures, and rebuilding the finish across the whole wall costs less per repair and looks like one wall again.
For the homeowner budgeting a bigger project, this is the real question behind stucco hole repair sizes: are you fixing isolated damage, or is the damage a symptom of a wall that has reached the end of its finish life? Use these signals to decide:
- Patch: One or two holes, sound and solid stucco everywhere else, no moisture staining, texture that can be blended locally.
- Resurface: Multiple holes plus widespread hairline cracking, previous patches that no longer match, or a chalky, brittle finish coat across the wall.
- Replace the section: Hollow-sounding areas larger than a few square feet, bulging, or soft spots you can dent with a thumb. Surface work will not save failed base coats.
Cost helps frame the choice. The national average to repair stucco runs $900 to $3,000, averaging around $1,700 for a buckled 10×10-foot area of three-coat stucco, according to Fixr.com. If patching several large holes on one wall approaches that range, get a resurfacing bid for the same wall and compare. This is often why two quotes for the same house differ by three times; one contractor priced patches, the other priced the wall.
Step 7: Judge the Finished Repair Before You Pay
A finished repair should disappear. Stand back 15 to 20 feet and look at the wall in daylight; if you can point to the patch, the texture or color match missed. A visible patch usually means the finisher did not match the original texture technique, and blending it, often by knocking down and scraping high spots, is a reasonable fix to request before final payment.
Run this checklist on any completed stucco repair, whether you did it yourself or hired it out:
- Flush with the surrounding wall, no raised or sunken outline.
- Texture matches in pattern and depth, not just roughness.
- Solid sound when knocked, no hollow ring at the patch or its edges.
- Color matched across the patch, or the full wall repainted to one tone.
- No hairline gap where new material meets old.
For HOA boards handling perimeter walls or entry monuments, apply the same checklist across every patch in the scope before sign-off, and put texture and color matching in the bid language up front. In addition, ask each bidder to state the hole sizes their price assumes; a bid that patches and a bid that resurfaces are not comparable numbers, and knowing which is which keeps the reserve budget honest.
The size of the hole tells you where to start. The condition of the wall around it tells you where to stop. Measure both before you buy a patch kit or sign a contract, and the repair you get, at whatever scale, will be the one the wall actually needed.
If you need stucco repair, Scottsdale Stucco Repair can help.
Prefer to talk it through? Call (480) 637-3464 — a quick call is usually the fastest way to get a straight answer for your situation.